Certain side projects and ideas have been in the back of my mind for years. And I wonder which ones have been there the longest.
Some of these ideas involve daily utilities that facilitate digital workflows—think invoice archiving or sketch editing and organization—that could potentially be improved. Others involve enhancements or additions to my websites—component ideas, style changes, and a long etcetera of possibilities.
AI-assisted coding makes this easier than ever. You can fan out an agent on the side and let it think through a problem, proposing solutions and even coming up with prototype code. You steer it in different directions, and when you're happy, you can ask it to implement the features for real.
One of the longest habits I've followed is expense-tracking in plain text, which is a great resource by itself. Yet
For personal projects and utilities, there's no need to worry much about code quality or security. It's not that you're going to put that in the hands of dozens or thousands of people. They're for you to use, or for others to access (in the case of websites).
So I asked Claude Code.
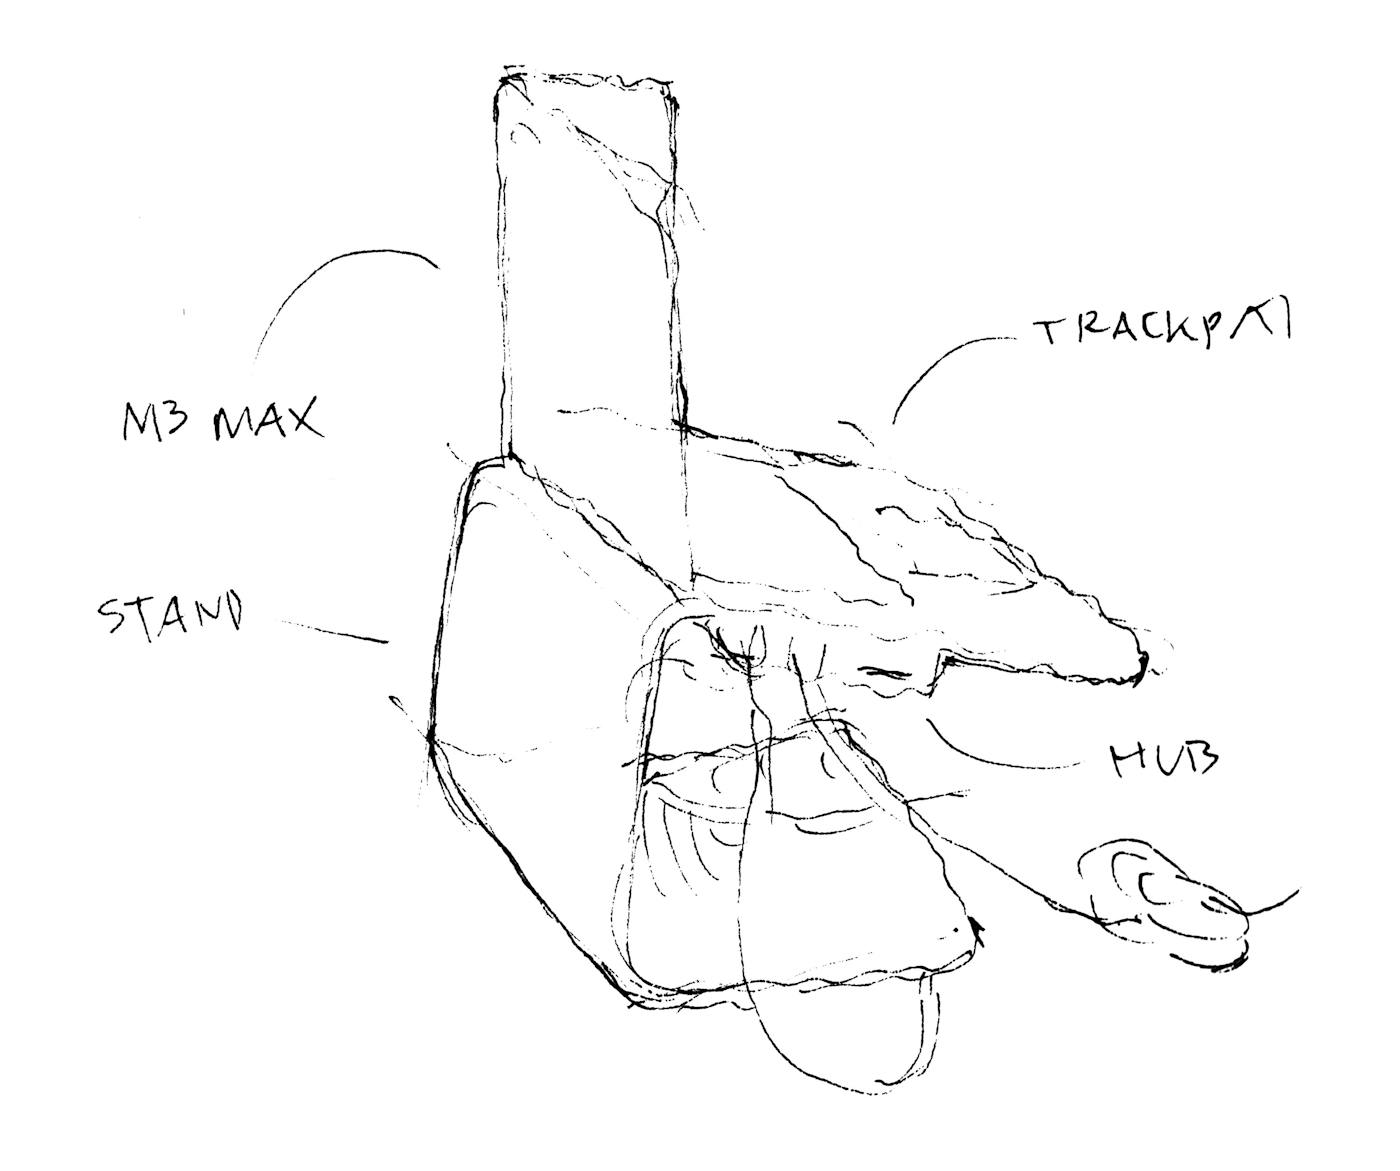
Analyze the expense-tracking format of expensed.md and come up with app ideas to (a) author/edit these files, e.g., adding new expenses, editing, removing, (b) querying them, e.g., search, filtering, summaries, daily/monthly/yearly sums, etc., and (c) visualizing, interacting/navigating data. Your proposals could be in the form of CLI tools, web apps, iOS apps, and other mediums/formats you come up with.
Good — I have a solid understanding of the format. Here's my analysis and proposals.
Sonnet 4.6 understood everything pretty well in one shot.
The Format

<amount><currency>[/N or ×N] [(of <full>)] #category @vendor [description] [#tag…]

Key elements:

- Amount + currency: 130€, $6.00, 5.20€ — mixed EUR/USD
- Split modifier: /2 = shared cost (you paid half), ×2 = you paid for two
- Partial payment: (of 159) = you paid 9 out of 159 total
- Category: #food, #home, #web, #transport, #care, #gift, #tech, #travel, #software, #leisure, #sport, #work, #clothes, #games, #fees, #lost
- Vendor: @amazon, @spotify, @repsol, etc.
- Description: free-form text after vendor
- Tags: #monthly, #yearly — ad-hoc event/project markers
Then it came up with these potential apps, with finer detail I'm omitting here.
When AI can do anything for you, what matters is what you ask for.
You can go super fast, in multiple directions, at the same time.
But that's useless if none of those directions are where you need to go.
That said, moving fast may help you figure out where you need to go. And that's why it can be useful, at the very beginning, to diverge and explore, then converge on the right destination.
I recently shared that I haven't been producing as much content as I used to. But I didn't mention why I gave up habits I had been honing for years.
So, what changed?
In 2023, I left Autodesk to join a startup1, traveling abroad for work for more than thirty days and spending a decent amount of time planning our wedding and doing a light house renovation.
I still had time to produce content, but I could feel the energy and pace decreasing. I prioritized family and friends, with whom I'd gather to sing, jam, and play boardgames.
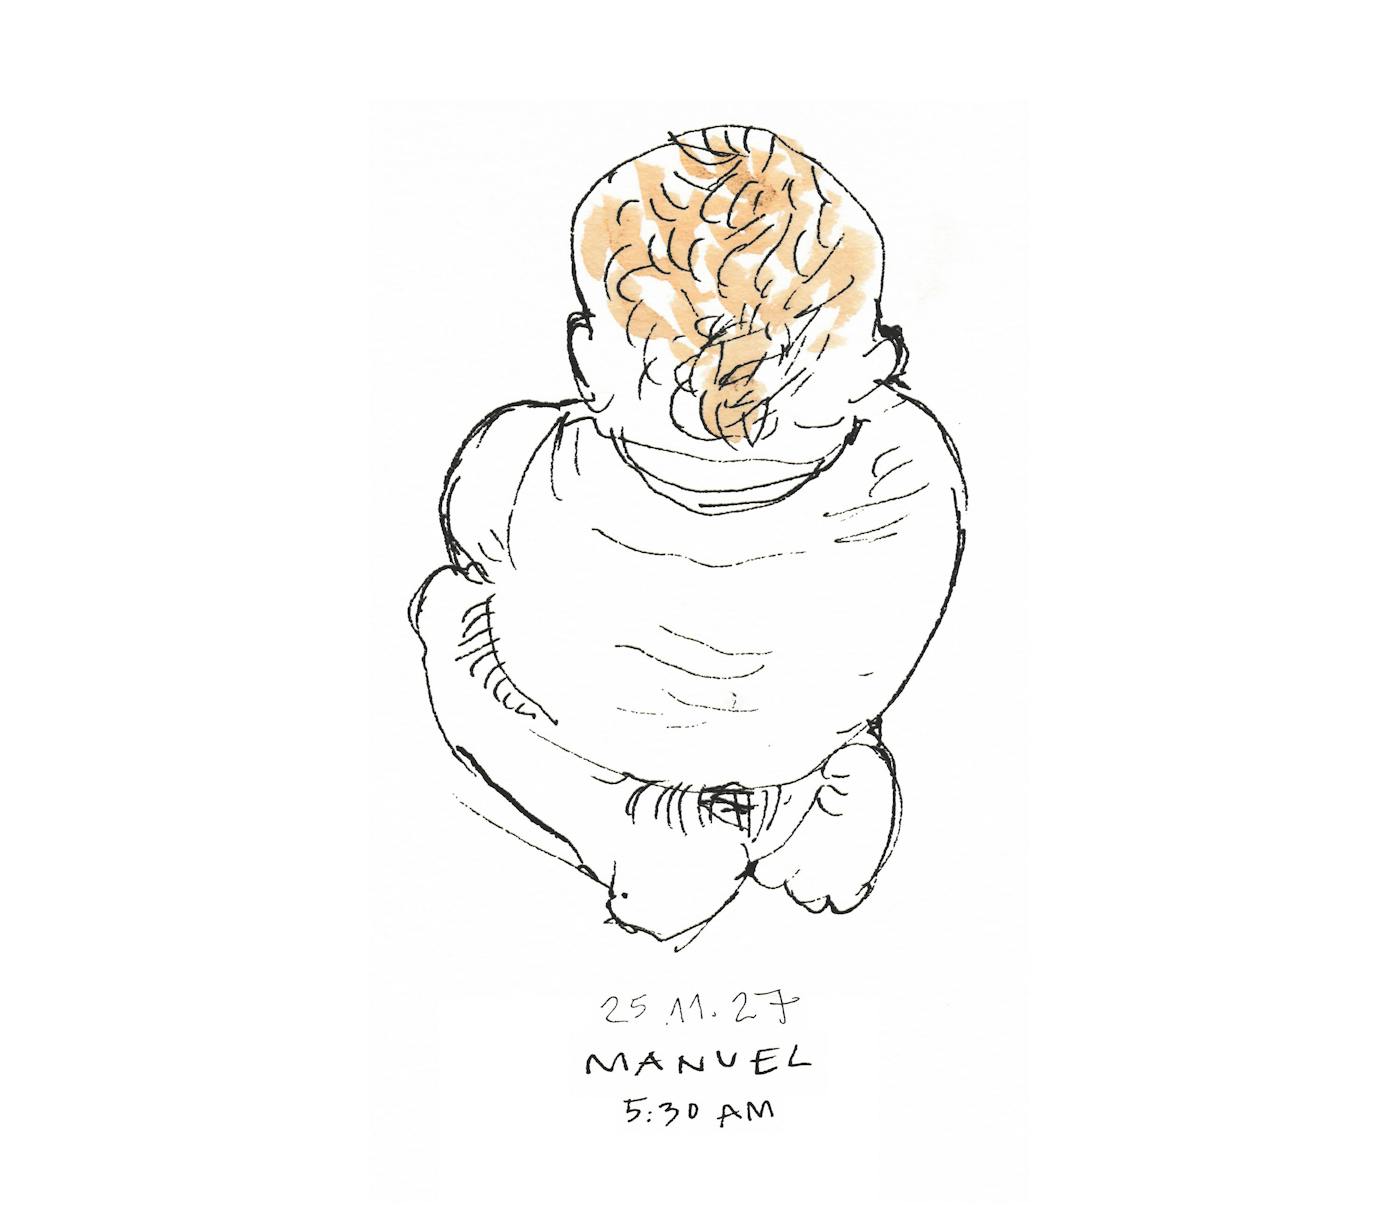
In 2024, we had a baby (!).
If you have kids, you know why I'm not producing as much as I used to. If you don't, it's not that I don't have the time, but that I would rather spend it with family, hanging out with friends, or sleeping.
I haven't released any podcast episodes since June 2024. I haven't streamed or uploaded videos for almost two years. I missed twenty Tuesday posts over the past months (that I'm taking the freedom to backfill). And I didn't manage to sketch every single day, or as much as I used to, while traveling. But that's okay.
It took time to accept this is my new normal. Yet this allowed me to recalibrate, adjust to new constraints, and slowly start building new habits, with a different mindset, giving myself leeway.
Today I'm joining Maite Bravo's BIMSC Theory class as a guest speaker for the MaCAD Podcast Series at IAAC in Barcelona. I'll be sharing the lessons learned from 70+ episodes of the Getting Simple podcast.
Hello, world! I'm back.
I didn't go anywhere, really, but you may wonder why I haven't been as active lately as I used to be.
Over the past years, I have produced a lot of content: a monthly podcast episode, a weekly livestream and video uploads, a weekly sketch-and-story newsletter, a daily drawing, and 200 words a day.1 For a period, I meditated for at least ten minutes and read five Readwise quotes daily. And there are many other habits that require maintenance that I insisted on keeping up with.
I had the time and was willing to invest it in those things, so why not keep going? Well, that was my intention, and it was hard to give up many of those things.
So, what changed? You may ask.
I'll tell you next week.
I wrote (and still do) two hundred words everyday in my personal journal, which I use to source most of my posts. ↩
The artifacts of your creative process signal and celebrate what you did.
A piece of writing flourishes when it's published, printed, shared, and read, highlighting the process that took you there.
The raison d'être of a piece of art (an artifact in and of itself) is to inspire and change the viewer, but also to transform the artist who made it.
Not all creative processes will yield an artifact; the artifact may result from numerous sessions over time.
An artifact can be digital or physical: an app, a book, a painting, a story, an object, a document, a sketch.
And, while the artifact is important to celebrate, there's no need to obsess over the outcome. We're not celebrating the outcome but the process that got us here.
Specific user experience patterns can make us hate parts of our favorite products and eventually lead us to dislike our core tools as much as we did.
One such pattern is the non-dismissable dismiss notice.
Gmail offered me the option to upgrade my personal email account to your-domain.com to level up. I clearly hit dismiss, because I'm not interested. In fact, I already own a Google Workspace account with my custom domain name, and they probably know. Yet that nagging nudge insists on reappearing every couple of days or weeks.
Annoying.
There's a workaround I've used on other occasions: using StyleBot or a similar CSS-editing browser extension to override a website's styling and hide specific components.
Another recurrent theme is YouTube insisting that I sign up for Revolut—but I already have, so what do they expect me to do?
It's that time of the year.
Colds, the flu, and masks are back.
It's annoying to wear them but respectful, especially when it's you who's sick.
Ideas come and go, and if you don't catch them when they come up, they may be gone for good. You may never come up with the same idea again, the same thought.
It helps to have ways to capture your ideas on the fly—doodling in a sketchbook, jotting down notes in a notebook, or recording a voice memo on your phone, for instance.
Eventually, most ideas tend to come back, though, especially the ones related to your current situation and circumstances. An alternative strategy, in fact, is only to capture ideas that recurrently make it into your head.
It's so easy for many, many days to slip by, whatever it is you are doing, and that, in turn, becomes overwhelming—if it's hard to keep up, it will be even harder to catch up at a later point.
The same compounding effect that gets you to get lots of creative output out the door can work against you to accrue to-dos and accumulate pending work.
Drop by drop, you either fill the glass or miss it, and if you have a reference point, you'll have to go back and produce drops faster to catch up.
In short, it's way easier to ensure all drops fall inside the glass at the right moment, even if it requires an extra push of effort and willpower, as otherwise, fighting against the natural rhythm of things will make it extremely difficult.
I know, because this is what I've experienced lately, not being able to put enough time into the things I was periodically doing before.
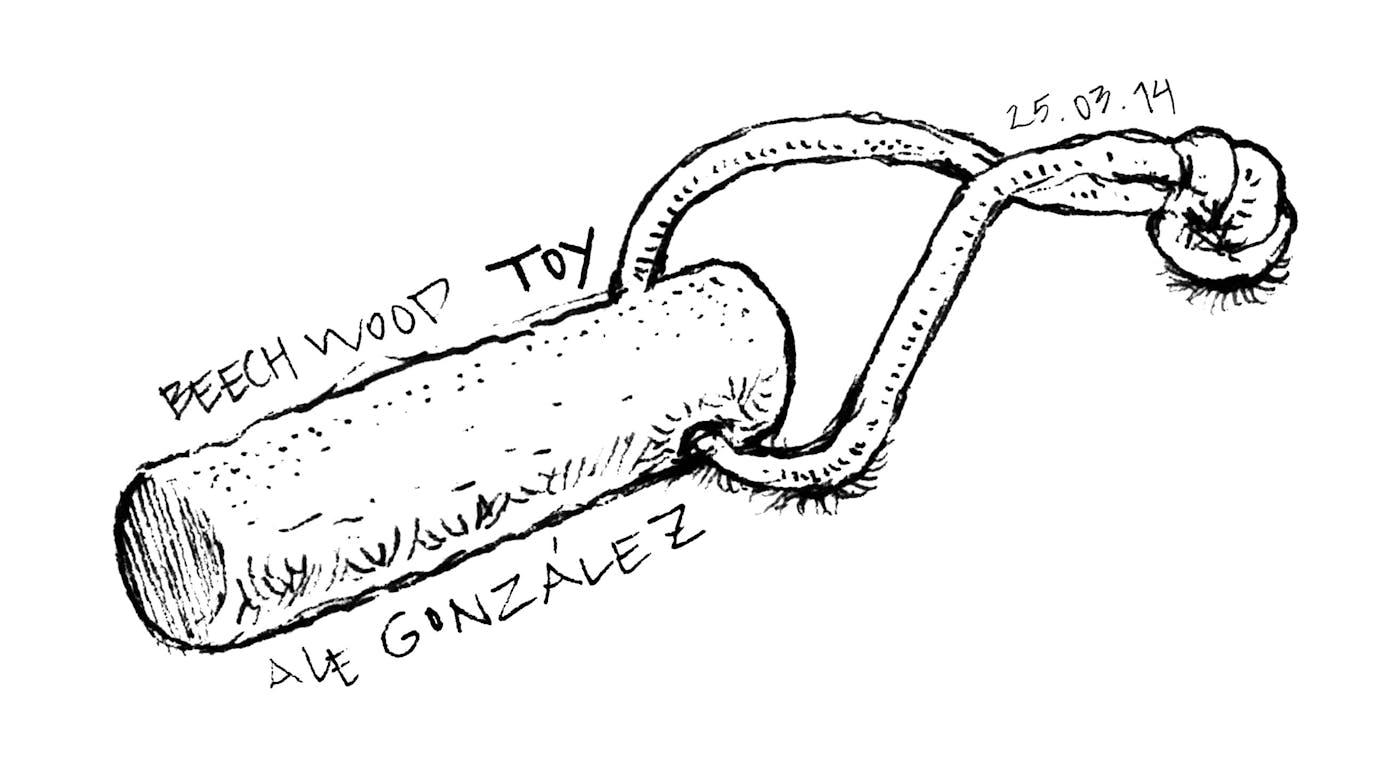
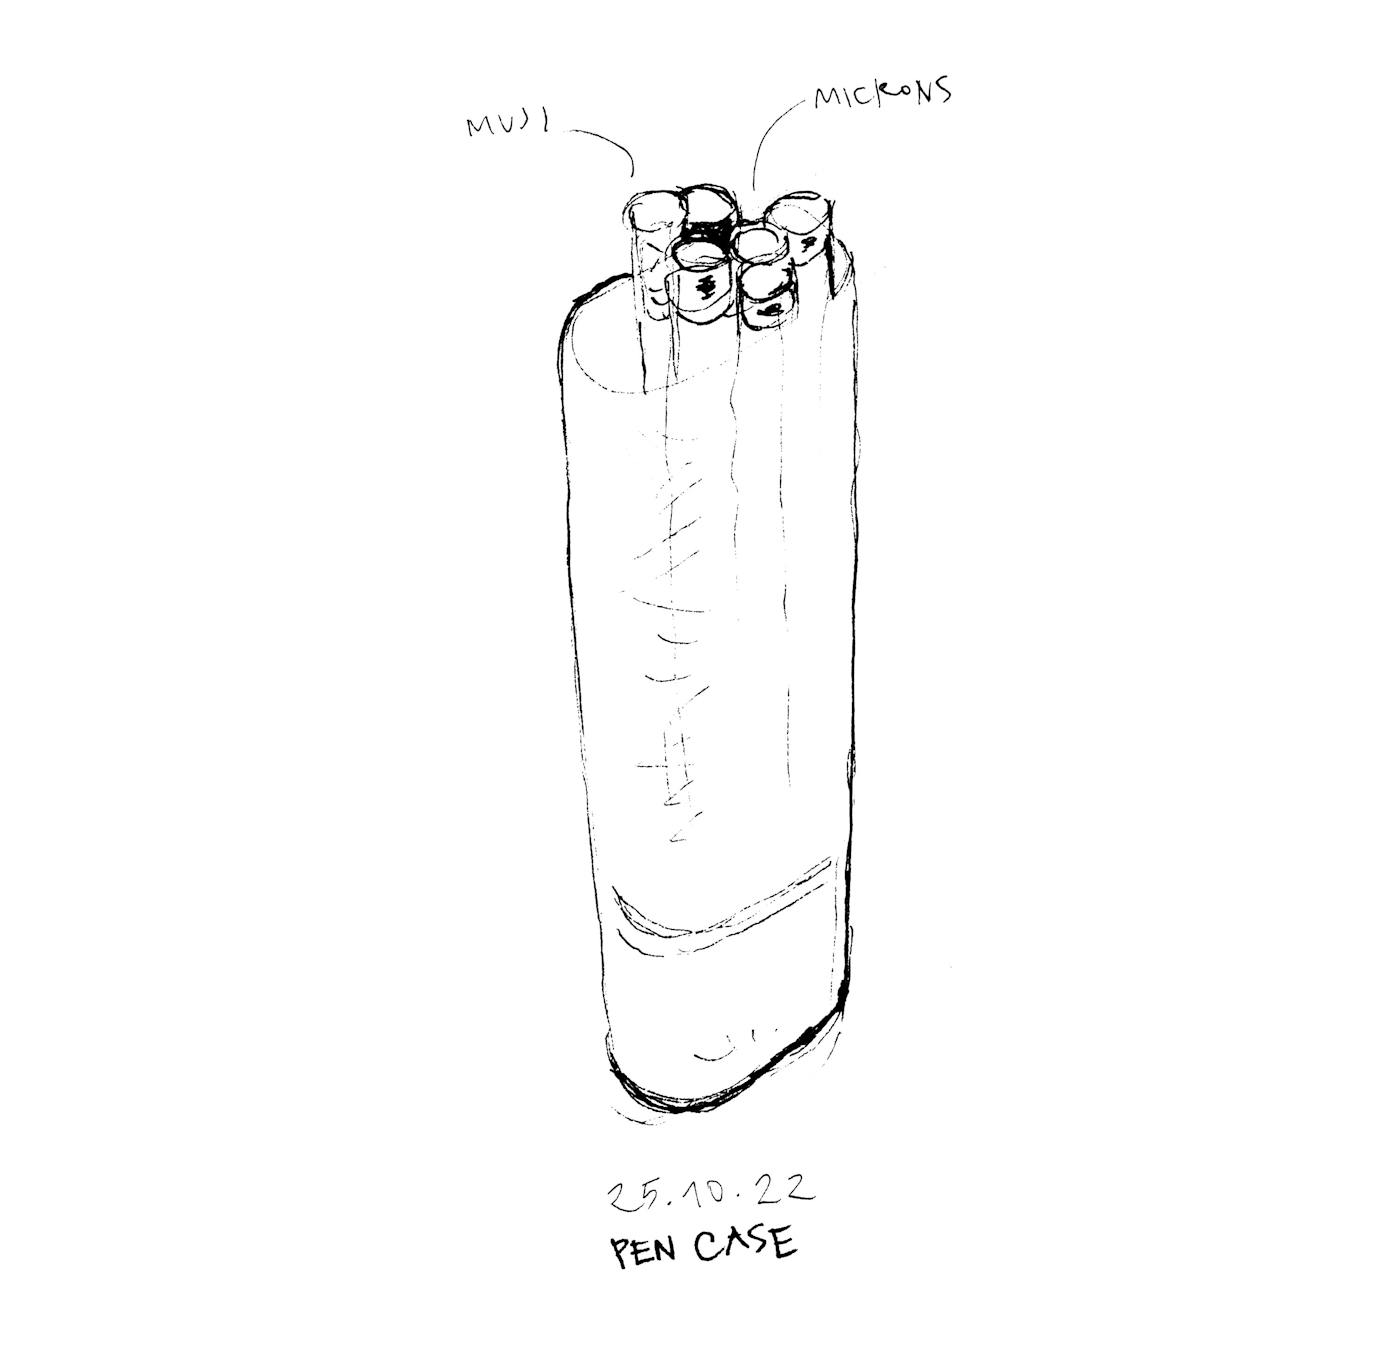
In preparation for our family trip to Australia, I ordered sketching materials online from Bellas Artes Piera (Barcelona).
I bought two hardbound, 150–gram, white-paper Alpha Series Stillman & Birn sketchbooks, which have become my go-to sketchbooks1 ever since I tried them out. I'm trying their 10.2 × 15.2 cm (4 × 6 in) size for the first time, which is easy to pack, in addition to the 22.9 × 15.2 cm (9 × 6 in) I've been using for the past four years.
I also ordered a set of Sakura Pigma Micron felt tip pens—003, 005, 01, and 03. The thin tips of 003 and 005 Microns provide line thicknesses of 0.15 mm and 0.20 mm, respectively, which allow for careful detail and line work, whereas the thicker 03 Microns (0.35 mm) work well for infills and outlines. It's important to note that the thinner the tip, the more it wears out, and I go through multiple 003s and 005s before the 03 needs replacement.
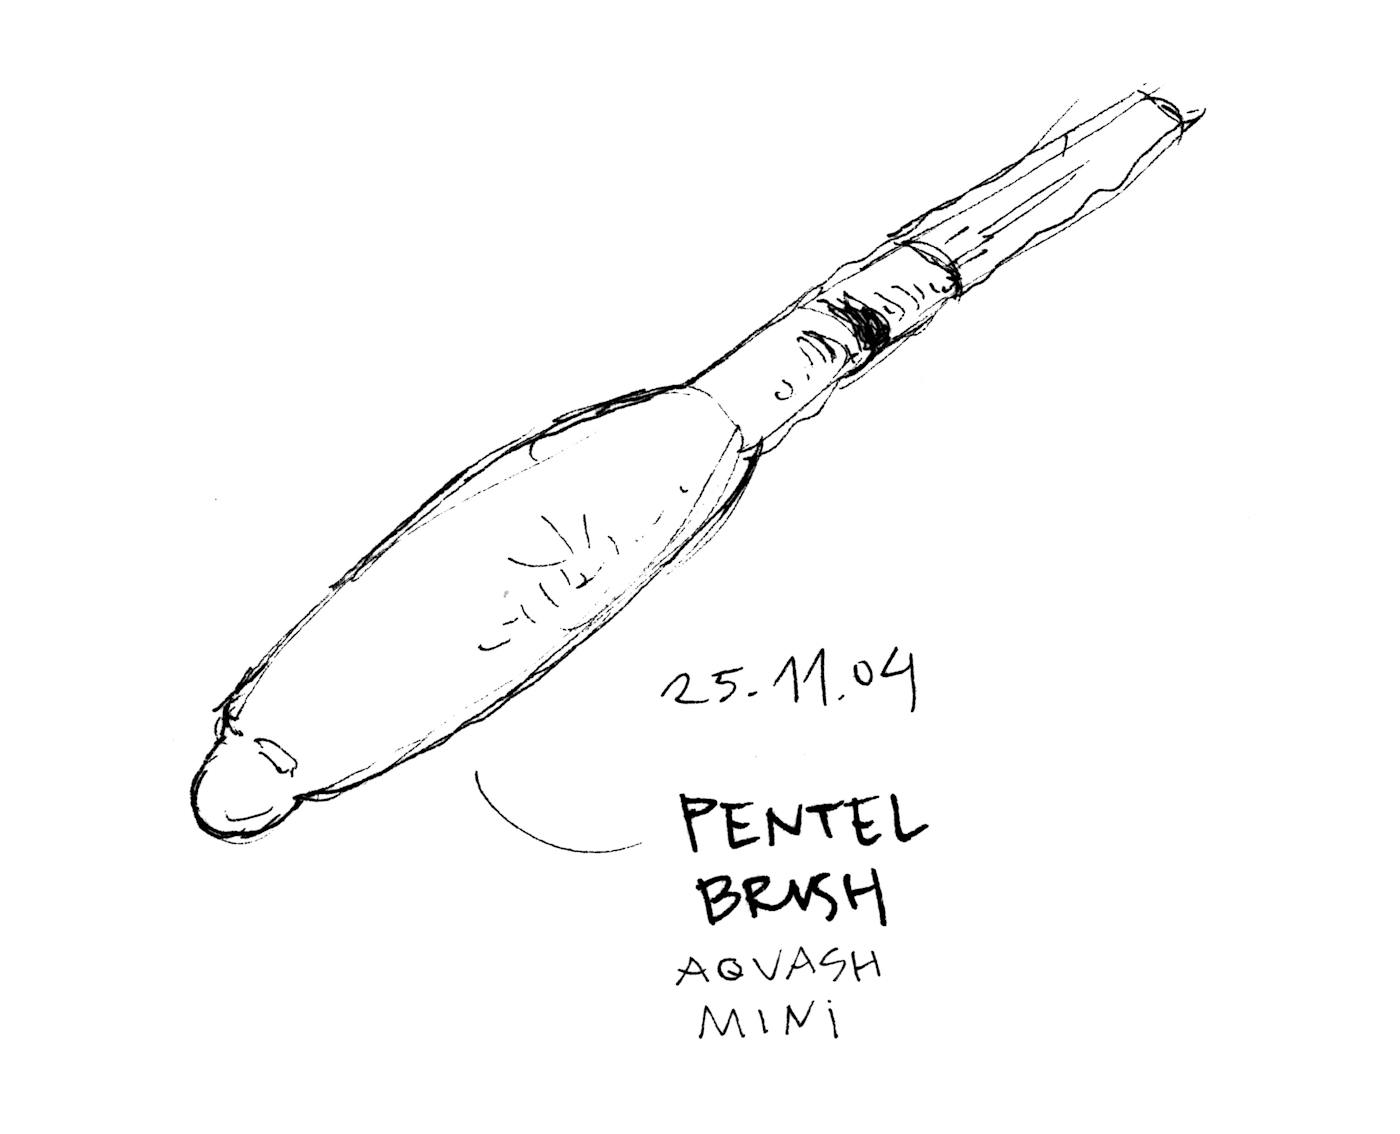
I'll bring my Russian White Nights twelve-pan watercolors and Japanese Pentel Aquash Mini water brush, which let me add color to my drawings in any situation.
These are my current tools. Which are yours?
Because it increases your likelihood of producing drawings you're happy with.
Because drawing skill improves with practice.
Because your ability to see and capture the world around you gets better the more you do it.
Because you won't feel pressured to perform at your best, you'll try again tomorrow.
Because recurrent activities become habits that ground us and reinforce our identity.
As I've mentioned a few times before on the blog, I'm a bit behind schedule with my Tuesday posts, specifically my Sketches & Stories newsletter, which I publish every week, except for a couple of delayed issues over the past few months.
For good reason, I've struggled to write, review, and select content to publish on my blog at the same cadence I used to have.
Over the past year and a half, I've blogged less, almost stopped tweeting, and used social media less frequently, and I haven't recorded or edited podcasts or YouTube videos.
I feel that for some time I've been ramping up, but the hill is steep, and it keeps getting steeper if I look away for a couple of weeks.
Tomorrow, I'm finally posting the Newsletterversary VI post, with content very similar to others, but a new montage of sketches and a new sketch.
I think it's okay to say no to things when you feel you shouldn't continue doing them. For me, it's a bit different. I'm going to continue with these projects, which may evolve into something slightly different; it's just that I need to determine how they fit into my new life and routines, as I don't have the same available time as I used to have before.
If you're still there, I'd love to hear from you.
Elgato just released a larger teleprompter with a 15.6" screen and a power button. All features resemble those in the existing Prompter, and the price this time is 599€ (instead of 299€ as in the smaller version).
The summer break was hectic, fun, and refreshing.
I didn't sit at my desk and halted my daily routines and habits, except for the ones I can do on my phone and sketchbook: writing and sketching to comply with my two-hundred-word and one-sketch-a-day minimum.
I always overestimate what I'll accomplish on vacation in terms of my personal creative projects, and I barely get anything done.
I wrote and sketched, but skipped a few weekly posts, which should be up soon. I'll be all caught up.1
Being away from the keyboard for weeks feels like hitting the reset button.
The podcast and YouTube channel will have to wait a bit longer. ↩
Doing less leads to less doing.
That's why it's better to draw every day, even if some days you feel you're cheating or almost skipping because you're not giving your one hundred percent.
That's why you won't draw at all if you skip a few days, and will end up skipping weeks, if not months, risking losing the habit.
The opposite is also true.
Doing more leads to more doing.
And that's where we have to drill, on doing more of what we want.
In the long run, it's crucial to prioritize the practice and process over the immediate outcome.
After all, there won't be a better or worse outcome if you stop doing.
Everything is relative to a reference point.
Set the bar low and you're high.
Set it high and you're low.
The sweet spot is a slightly raised bar you can reach with reasonable effort.
Push yourself, reach up there, and then raise the bar again.
The power of sketching continues to surprise me.
Always from reality, I draw what's in front of me—portraying three dimensions into two and paying attention to detail.
"You can compare sketching to taking an Instagram photo for [several] minutes,"1 I said in a 2019 essay.
You capture people, places, and objects in ever-changing contexts.
The key difference between taking pictures and sketching is attention.
Click.
By offloading the capture of reality to a camera, you don't think much about it. The machine does the job, translating light into millions of pixels.
Click.
Using your sight and hands to capture reality requires not only skill but thinking, analysis, and abstraction.
Click.
The camera takes it all—we select the aspects of reality that make it into our sheet.
We decide what we pay attention to.
Time, place, and people. July 9, 2019. The second essay of my Sketches & Stories series. ↩
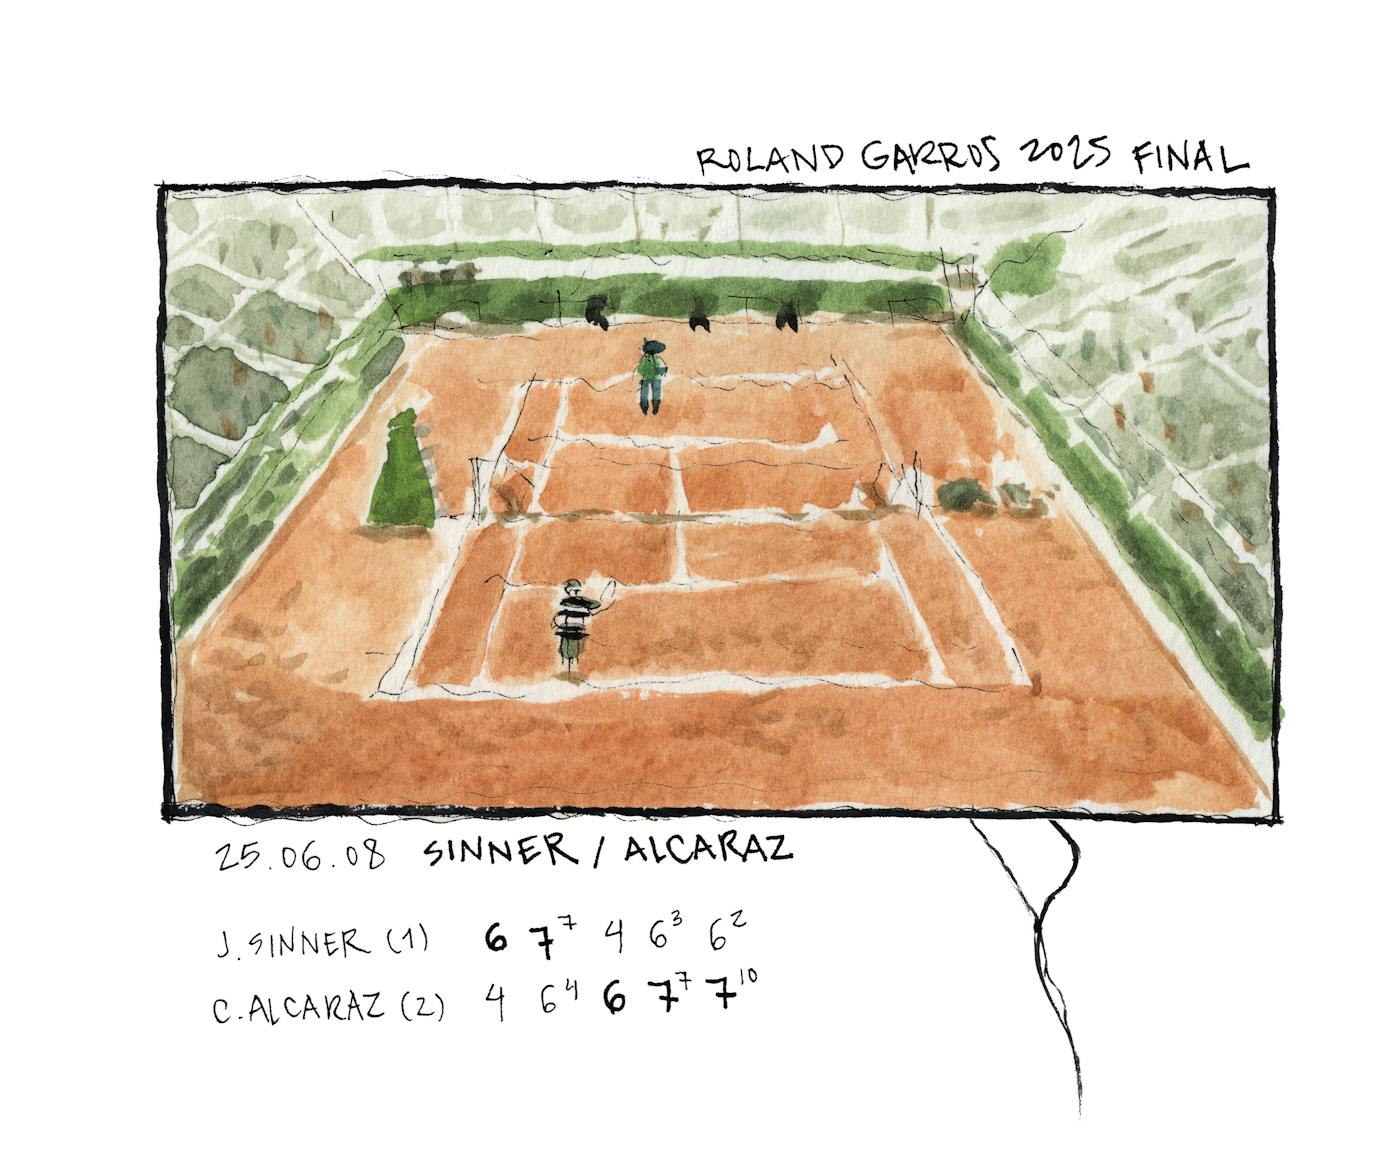
Carlitos Alcaraz lost the Wimbledon final against a sharp and strong Jannik Sinner, in revenge for Alcaraz's insane turnaround against Sinner in the Roland Garros final.
From the inside, practice is incredibly demanding—a strict and repetitive routine that takes discipline and patience.
From the outside, skill appears to be a natural gift, and it's hard to imagine the time, effort, and sacrifice pros put in to perform at an elite level.
"Sometimes magic is just someone spending more time on something than anyone else might reasonably expect."1
All we see is the magic trick.
This quote is attributed to magician Raymond Joseph Teller. ↩
No matter how inspired you are, you need to sit down and do the work.
Ideas are cheap—execution is not.
Today, I'm celebrating the sixth anniversary of my publication, which has resulted in 314 weekly sketches and mini-essays being published over the past six years.1
Frank Harmon’s Native Places blog is one of my greatest inspirations for this project. The formula is simple: pair a sketch with a mini-essay, share it online, and repeat.
I send this newsletter once a week, but I sketch and write every single day.
Every year, I have a different feeling about what I do here.
I’m figuring it out. But I enjoy every bit of it and will continue writing, drawing, and publishing for years. (I encourage you to discover the power of writing: start with one word per day.)
I'd love to hear your thoughts, feedback, comments, and suggestions, and invite you to write a comment, reply, send me a voice note, or send me a private message.
Thank you, as always, for pushing me to keep going.
Happy newsletterversary.
313 weeks between July 2, 2025, and my first sketch and mini-essay on July 2, 2019. ↩
Sebastian Gutierrez, in an article titled Math Machine, explains a series of benefits that kids gain from having a notebook dedicated to learning math: kids can refer to previous learnings, inspect what worked and what didn't, and get a sense of progress by seeing what they've gone through.
Here are my favorite recommendations from the article.
Math Machine is the name one of the author's kids gave to his math notebook.
Creative friction is the barrier between you and your practice—forms of resistance that morph depending on your specific practice or craft.
I've found that to reduce friction and create a smooth experience, one must identify the shapes those barriers take and develop strategies to minimize their effect.
One of my practices is daily sketching.
I can't sketch without my tools. Having a sketchbook, pens, and watercolors always at hand reduces friction. I keep medium and large sketchbooks by my desk and in the living room, then bring a small sketching kit when I travel.
Time is often tight, and complex scenes can be daunting. Picking easy subjects to sketch quickly reduces friction. I can rejoice in drawing multiple subjects and more challenging scenes when I have time to spare.
We lean into what's easy and are great at making excuses to skip our practice. The answer is making our lives easier, even if it means duplicating your tool set to increase availability or lowering your standards to ensure daily practice.
Create a minimal-friction system, start doing without overthinking, and focus on doing, even if only for a few minutes daily, rather than making a considerable effort once a week, for example. Long dedicated sessions can come later.
Just as skipping once makes it easier to skip twice, engaging in your craft once makes you more likely to start a habit.
Play and don't get serious until you find yourself spending serious amounts of time on your craft.
Beat the resistance. Minimize creative friction.
Apple has enabled recording video and audio locally while you're on a call with conferencing apps like FaceTime, Zoom, Microsoft Teams, and others—the recording saves to your iPad.
This is an excellent feature for podcasters, as it eliminates the need for a dedicated podcasting app to record.
Watch the update at 1:22:30 in the WWDC25 Keynote.
Constant friction helps identify pain points that need fixing. And, even though the fix isn't always obvious and requires creativity, the sensation of knowing how painful something was and no longer having to worry about it is priceless.
First, things you must do.
Then, things you'd like to do but don't have to.
Is that the correct order?
Well, there's no correct order.
Sometimes, doing what you enjoy (and never have time for) first is better, as otherwise, you may not get to it.
Then, what you must do follows because, after all, you must do it.
AI has reached a point where you can write working software in minutes without knowing what technologies were used.
Create a web app I can drag an image into and display the image with a glitch filter. Claude Sonnet 4 starts writing code.
The Glitch Image Filter App label appears below my prompt, next to an atom icon that references web technologies. Claude writes CSS, HTML, and vanilla JavaScript for me. After a few minutes, a futuristic web interface shows up. An animated floating folder icon prompts me to Drop an image or click to browse. I drag an image, but it doesn't work. I click and select an image—it works! Four sliders let me adjust the intensity, RGB shift, scan lines, and noise values. As I move the sliders, my image is displayed with the glitch filter.
The RGB Shift filter makes the image blue, it doesn't shift RGBs—I tell Claude.
You're absolutely right! The RGB shift filter is broken - it's not properly shifting the color channels and is making the image blue instead. Let me fix the RGB shift algorithm to actually separate and offset the red, green, and blue channels.
The app works now as expected. The RGB channels are shifted as I move the slider.
Make the aesthetics minimal and subtle. No superfluous colors. The interface centers attention on the output image, while the rest of UI components are relegated to the background.
I can now see Claude's code edits as it adjusts the styling.
Now we are talking; This looks much better.
I see a dropdown at the top of the web app with v8 · Latest selected.
I can go back to previous versions, some of which Claude hasn't even shown me.
It took Claude Sonnet 4 six iterations to simplify the style.
Before everything works, I need to request a few fixes.
The reset button should bring the slider values to 0. Fixed. The app doesn't load my image when I drop it. Not working yet. I'm using Google Chrome on macOS, and the drop area doesn't catch image files when I drop them. It doesn't work.
I skim through the code and can see what it's doing at a high level. I understand the code and am familiar with the tech stack—HTML, CSS, JavaScript. But I don't know how the glitch filters work at a low level. And, at this point, I don't have to.
Now, at v19, I hit Publish.
The Glitch Filter app is online.
Google released Imagen 4, its latest image generation model, which promises better quality, finer details, advanced spelling and typography, and diverse art styles than previous models.