Today I'm joining Maite Bravo's BIMSC Theory class as a guest speaker for the MaCAD Podcast Series at IAAC in Barcelona. I'll be sharing the lessons learned from 70+ episodes of the Getting Simple podcast.
Specific user experience patterns can make us hate parts of our favorite products and eventually lead us to dislike our core tools as much as we did.
One such pattern is the non-dismissable dismiss notice.
Gmail offered me the option to upgrade my personal email account to your-domain.com to level up. I clearly hit dismiss, because I'm not interested. In fact, I already own a Google Workspace account with my custom domain name, and they probably know. Yet that nagging nudge insists on reappearing every couple of days or weeks.
Annoying.
There's a workaround I've used on other occasions: using StyleBot or a similar CSS-editing browser extension to override a website's styling and hide specific components.
Another recurrent theme is YouTube insisting that I sign up for Revolut—but I already have, so what do they expect me to do?
It's that time of the year.
Colds, the flu, and masks are back.
It's annoying to wear them but respectful, especially when it's you who's sick.
It's so easy for many, many days to slip by, whatever it is you are doing, and that, in turn, becomes overwhelming—if it's hard to keep up, it will be even harder to catch up at a later point.
The same compounding effect that gets you to get lots of creative output out the door can work against you to accrue to-dos and accumulate pending work.
Drop by drop, you either fill the glass or miss it, and if you have a reference point, you'll have to go back and produce drops faster to catch up.
In short, it's way easier to ensure all drops fall inside the glass at the right moment, even if it requires an extra push of effort and willpower, as otherwise, fighting against the natural rhythm of things will make it extremely difficult.
I know, because this is what I've experienced lately, not being able to put enough time into the things I was periodically doing before.
Elgato just released a larger teleprompter with a 15.6" screen and a power button. All features resemble those in the existing Prompter, and the price this time is 599€ (instead of 299€ as in the smaller version).
Apple has enabled recording video and audio locally while you're on a call with conferencing apps like FaceTime, Zoom, Microsoft Teams, and others—the recording saves to your iPad.
This is an excellent feature for podcasters, as it eliminates the need for a dedicated podcasting app to record.
Watch the update at 1:22:30 in the WWDC25 Keynote.
Google released Imagen 4, its latest image generation model, which promises better quality, finer details, advanced spelling and typography, and diverse art styles than previous models.
Written with ChatGPT 4o.
I recently ran into a workflow challenge while recording video content: I wanted to capture both my camera feed and my screen display, but instead of overlaying them in OBS (as is typical for live streaming), I wanted to record them separately so I could later compose them freely in DaVinci Resolve. My goal was to keep both sources clean and flexible for editing—ideal for adding effects, cuts, or repositioning in post.
This post is the result of a conversation I had with ChatGPT 4o, and it really helped me streamline this process.
Here's what I wanted to do.
And here's the solution proposed by ChatGPT.
There are two main ways to approach this, depending on how much control you want:
ffmpeg to split that file into two separate videos.Example FFmpeg command:
ffmpeg -i input.mp4 -filter_complex "[0:v]crop=960:1080:0:0[left]; [0:v]crop=960:1080:960:0[right]" -map "[left]" display.mp4 -map "[right]" camera.mp4
Adjust the resolution and crop values depending on your canvas layout.
Use the Source Record plugin for OBS:
This approach is cleaner and better if you plan to edit often.
That’s it! This workflow gives me much more flexibility when editing content—especially for tutorials, interviews, or any scenario where I want to fine-tune the composition in post. Hope this helps!
I bookmarked this comment from archerx on Hacker News in this Gemma3 post.
I have tried a lot of local models. I have 656GB of them on my computer so I have experience with a diverse array of LLMs. Gemma has been nothing to write home about and has been disappointing every single time I have used it.
Models that are worth writing home about are;
Here's a one-liner to download the MNIST dataset as PNG images, white over black.
python -c "from tensorflow.keras.datasets import mnist; import os, matplotlib.pyplot as plt; (x_train, y_train), _ = mnist.load_data(); os.makedirs('mnist_images', exist_ok=True); [plt.imsave(f'mnist_images/{i}_{y}.png', img, cmap='gray') for i, (img, y) in enumerate(zip(x_train, y_train))]"
Run this in the command-line interface with a Python environment with the tensorflow and matplotlib packages.
I have two Synology DS923+ NAS devices, one running at home and the other remotely. I backup specific folders of each NAS to its remote location with Hyper Backup and Tailscale, running DSM 7.2.21. Tailscale puts both machines in the same network, removing the need to expose my networks publicly and letting Hyper Backup find the remote machine by its Tailscale IP address. This workflow works great, but yesterday I noticed Hyper Backup couldn't find the remote machine, marking it as Off-line.
Before you test my solution below, try restarting both machines from the DSM interface.
If that doesn't work, here's how I fixed the issue and restored my backups.
I uninstalled and reinstalled Tailscale on both Synology DSMs and restarting the machines. Note that this changes the Tailscale IP address of the machine and requires reauthentication, which isn't straightforward for a remote machine because you'll lose the ability to connect via SSH (the machine isn't in the Tailscale network anymore). I had to run scheduled tasks with logging on to (a) enable Tailscale, (b) update it, (c) start it, and then (d) see the authentication URL for me to log into the browser.
These are the commands I triggered manually, and the first two are scheduled to run on boot and daily, respectively.
# Start Tailscale's service.
# Scheduled to run on boot.
/var/packages/Tailscale/target/bin/tailscale configure-host; synosystemctl restart pkgctl-Tailscale.service

# Update to Tailscale's latest version for Linux.
# Scheduled to run daily.
tailscale update --yes

# Start Tailscale, which requires authenticating via browser.
tailscale up
The last command will output a URL to your task's logs (so you need to set up a logging file first) which you need to open in your browser to authenticate the machine to your Tailscale network.
Voila, you can now go to your Tailscale admin page to see your machines' new IP addresses and set that as your Hyper Backup task's target.
One machine did not find the other because they pinged the other machine's Tailscale IP before the NAS was on the network, which mapped the IP to a non-existing source. Restarting, it seems, flushes the DNS cache, letting the machine resolve the other machine's address correctly.
If this helped you in any way, I'd love to know. You can message me here.
I'm running the version DSM 7.2.2-72806 Update 3. ↩
Tim Urban wrote an essay on Life Weeks in his Wait But Why blog in 2014. Recently, Gina Trapani—a software developer known primarily for her time as a Lifehacker writer—created her own Life Weeks page, which made it to the top of Hacker News. Within weeks (maybe days), somebody created lifeweeks.app, where anyone can make their own life weeks page, which also made it to the top of Hacker News as a ShowHN post.
Here's what the lifeweeks.app's Life Weeks sample by its creator, Cory Zue, reads.
This project was inspired by Wait but Why, and heavily influenced by Gina Trapani's adaptation.
You can make your own Life in Weeks by going here.
The internet is crazy, and it moves fast.
Recently, Bitbucket announced changes to Bitbucket Cloud's free plan "that will go into effect on April 28, 2025."
Repository storage limit: free workspaces will now have a total storage limit of 1 GB.
Snippets and downloads: these features will no longer be available for free workspaces.
Pipelines logs: the retention period for Pipelines logs will be reduced to 90 days.
These changes only affect users on a Free plan.
If you do not reduce the size of your workspace or upgrade your plan, your workspace and its content will be put in read‑only mode on April 28, 2025. You will have to make sure your workspace is within the new storage limit if you want to remain on your Free plan.
I've archived unused repositories on my Synology NAS. It had been years since I accessed some of these projects, and some are old versions of active projects that I'm unlikely ever to use.
When I first bought Elgato Prompter, one of my main uses would be presenting online, sharing my main screen while looking at my Presenter notes on Elgato Prompter. This workflow stopped working after a Keynote update some time ago.
Just today, I found an unchecked box in Keynote's settings, Show presenter display window in other applications.
I went ahead and checked that box, and, voila, the Presenter Display is visible again in Elgato Prompter.
You'll see a detailed description if you hover over that checkbox's text.
Select to allow the presenter display window to be viewed in other applications when you share your screen.
What happens is that Elgato's teleprompter isn't like other monitors connected to your computer. It receives a "shared screen" from your Mac via DisplayLink Manager.
I hope this helps!
2025.03.17 Update: The BenQ PD2730s is now available to order in Europe.
I've been waiting for BenQ's new monitors since they announced them at Adobe Max 2024.
People on Reddit wondered why BenQ had announced these monitors without talking about their release date or price.
I subscribed to receive news about the launch of these monitors. Today, I got an email announcing the price point and release date.
The PD2730S is BenQ’s first ever 5K monitor, featuring 98% P3 color coverage, Thunderbolt 4 connectivity, and Mac compatibility, providing Retina-like clarity and precision in your creative work.
I have been considering buying BenQ's PD2725U 4K display for some time. But the PD2730S has me waiting because it features a 27-inch 5K display, covers 98% of P3 color space with 10-bit color simulation (using a technology known as 8-bit + Frame Rate Control, or FRC), two Thunderbolt 4 ports, two USB-C, and three USB-A, which renders an extra hub unnecessary. It's a great monitor for color grading with DaVinci Resolve, for instance.
The PD3226G is a 32-inch 4K 144Hz display with 95% P3 color space.
Both BenQ monitors are available for pre-order in the US today and will be released on March 1, 2025. The PD2730S will cost $1199.99 and the PD3226G $1099.99.
When I decided to set up local storage drives at home with a Synology NAS1 (for network-attached storage), I realized Dropbox finally released a feature I've been waiting for for years: adding storage space to your plan.
My Dropbox Essentials plan allows me to increase my storage quota by multiples of 1TB at $63.62/year each.2 If you are on a yearly plan, you get charged for the extra space for the remainder of the billing period, and, supposedly, they don't guarantee you'll get refunded if you decrease the quota—but I think they would if you downgrade.3 The gist is that you can increase your quota whenever you run out of space. My 3TB plan was capped at 4TB by adding one extra terabyte, and that was it. And it took Dropbox years to enable this feature to get more space in their paid plans. (I'm unsure whether this add-on is available in the Family plan.)
I don't know what took them so long, as I think many people will add terabytes to their accounts and will pay them more.
It is convenient, but late for me. I'm running in the opposite direction, trying to rely less on the cloud to store my data.
I got the Synology DS923+, a NAS with four bays that can be extended up to nine bays with two 12TB Seagate Ironwolf drives for redundancy. Kudos to Rafa Roa for the recommendation. ↩
Storage Space (quantity 1). $59.88 / year. Adds 1 TB of storage space. Purchasable up to 1,000 TB. Read more on Dropbox's help page. ↩
The fine print reads, "If you cancel, previous charges won't be refunded unless it's legally required." ↩
The issue is that, by default, Laravel came with DB_HOST as 127.0.0.1 but MySQL 9 will reject that host in favor of localhost.
If everything else is configured correctly, simply set your DB_HOST to localhost, and you should be good to go.
macOS Sequoia introduces new features to help you be more productive and creative on Mac. With the latest Continuity feature, iPhone Mirroring, you can access your entire iPhone on Mac. It’s easy to tile windows to quickly create your ideal workspace, and you can even see what you’re about to share while presenting with Presenter Overlay. A big update to Safari features Distraction Control, Highlights, and a redesigned Reader, making it easy to get things done while you browse the web. macOS Sequoia also brings text effects and emoji Tapbacks to Messages, Math Notes to Calculator, the ability to plan a hike in Maps, and so much more.
iPhone Mirroring sounds extremely useful.
Hits the Upgrade Now button.
reMarkable released the reMarkable Paper Pro, a brand-new device with an 11.8” color display. The latency is down to 12 milliseconds from 21 milliseconds in the older reMarkable 2, which only featured black, white, and grayscale colors. Storage is up to 64GB from 8 GB.
It's a bit pricier than the previous model.
If you, like me, have the reMarkable 2, I don't think it is worth an upgrade. But I'll have to get one on my hands to know for sure.
I enjoyed learning about Disney's sodium vapor background removal process, which is used in movies such as Mary Poppins (1964), Bedknobs and Broomsticks (1971), and Pete’s Dragon (1977).
This method works much better than green and blue chroma keys, but as the video experiment shows, it's much more challenging to achieve.
This site with Machine Learning Challenges (deep-ml.com) looks really promising to learn about foundational concepts.
I recently bought an Atomos Ninja with the Atomos Connect module and an UltraSync Blue to pair devices via Bluetooth.
I couldn't find an updated list of compatible devices, so I started one.
Timecode Systems, the original creator of the UltraSync One and Blue, was acquired by Atomos, which makes monitor recorders such as the Atomos Ninja or Shogun. The UltraSync Blue is also compatible with all other Timecode Systems devices.
Here is an interesting Reddit thread with more information.

Hi Friends—
I'm working to bring you new episodes with John Pierson, Joel Simon, David Andrés León, and other exciting guests.
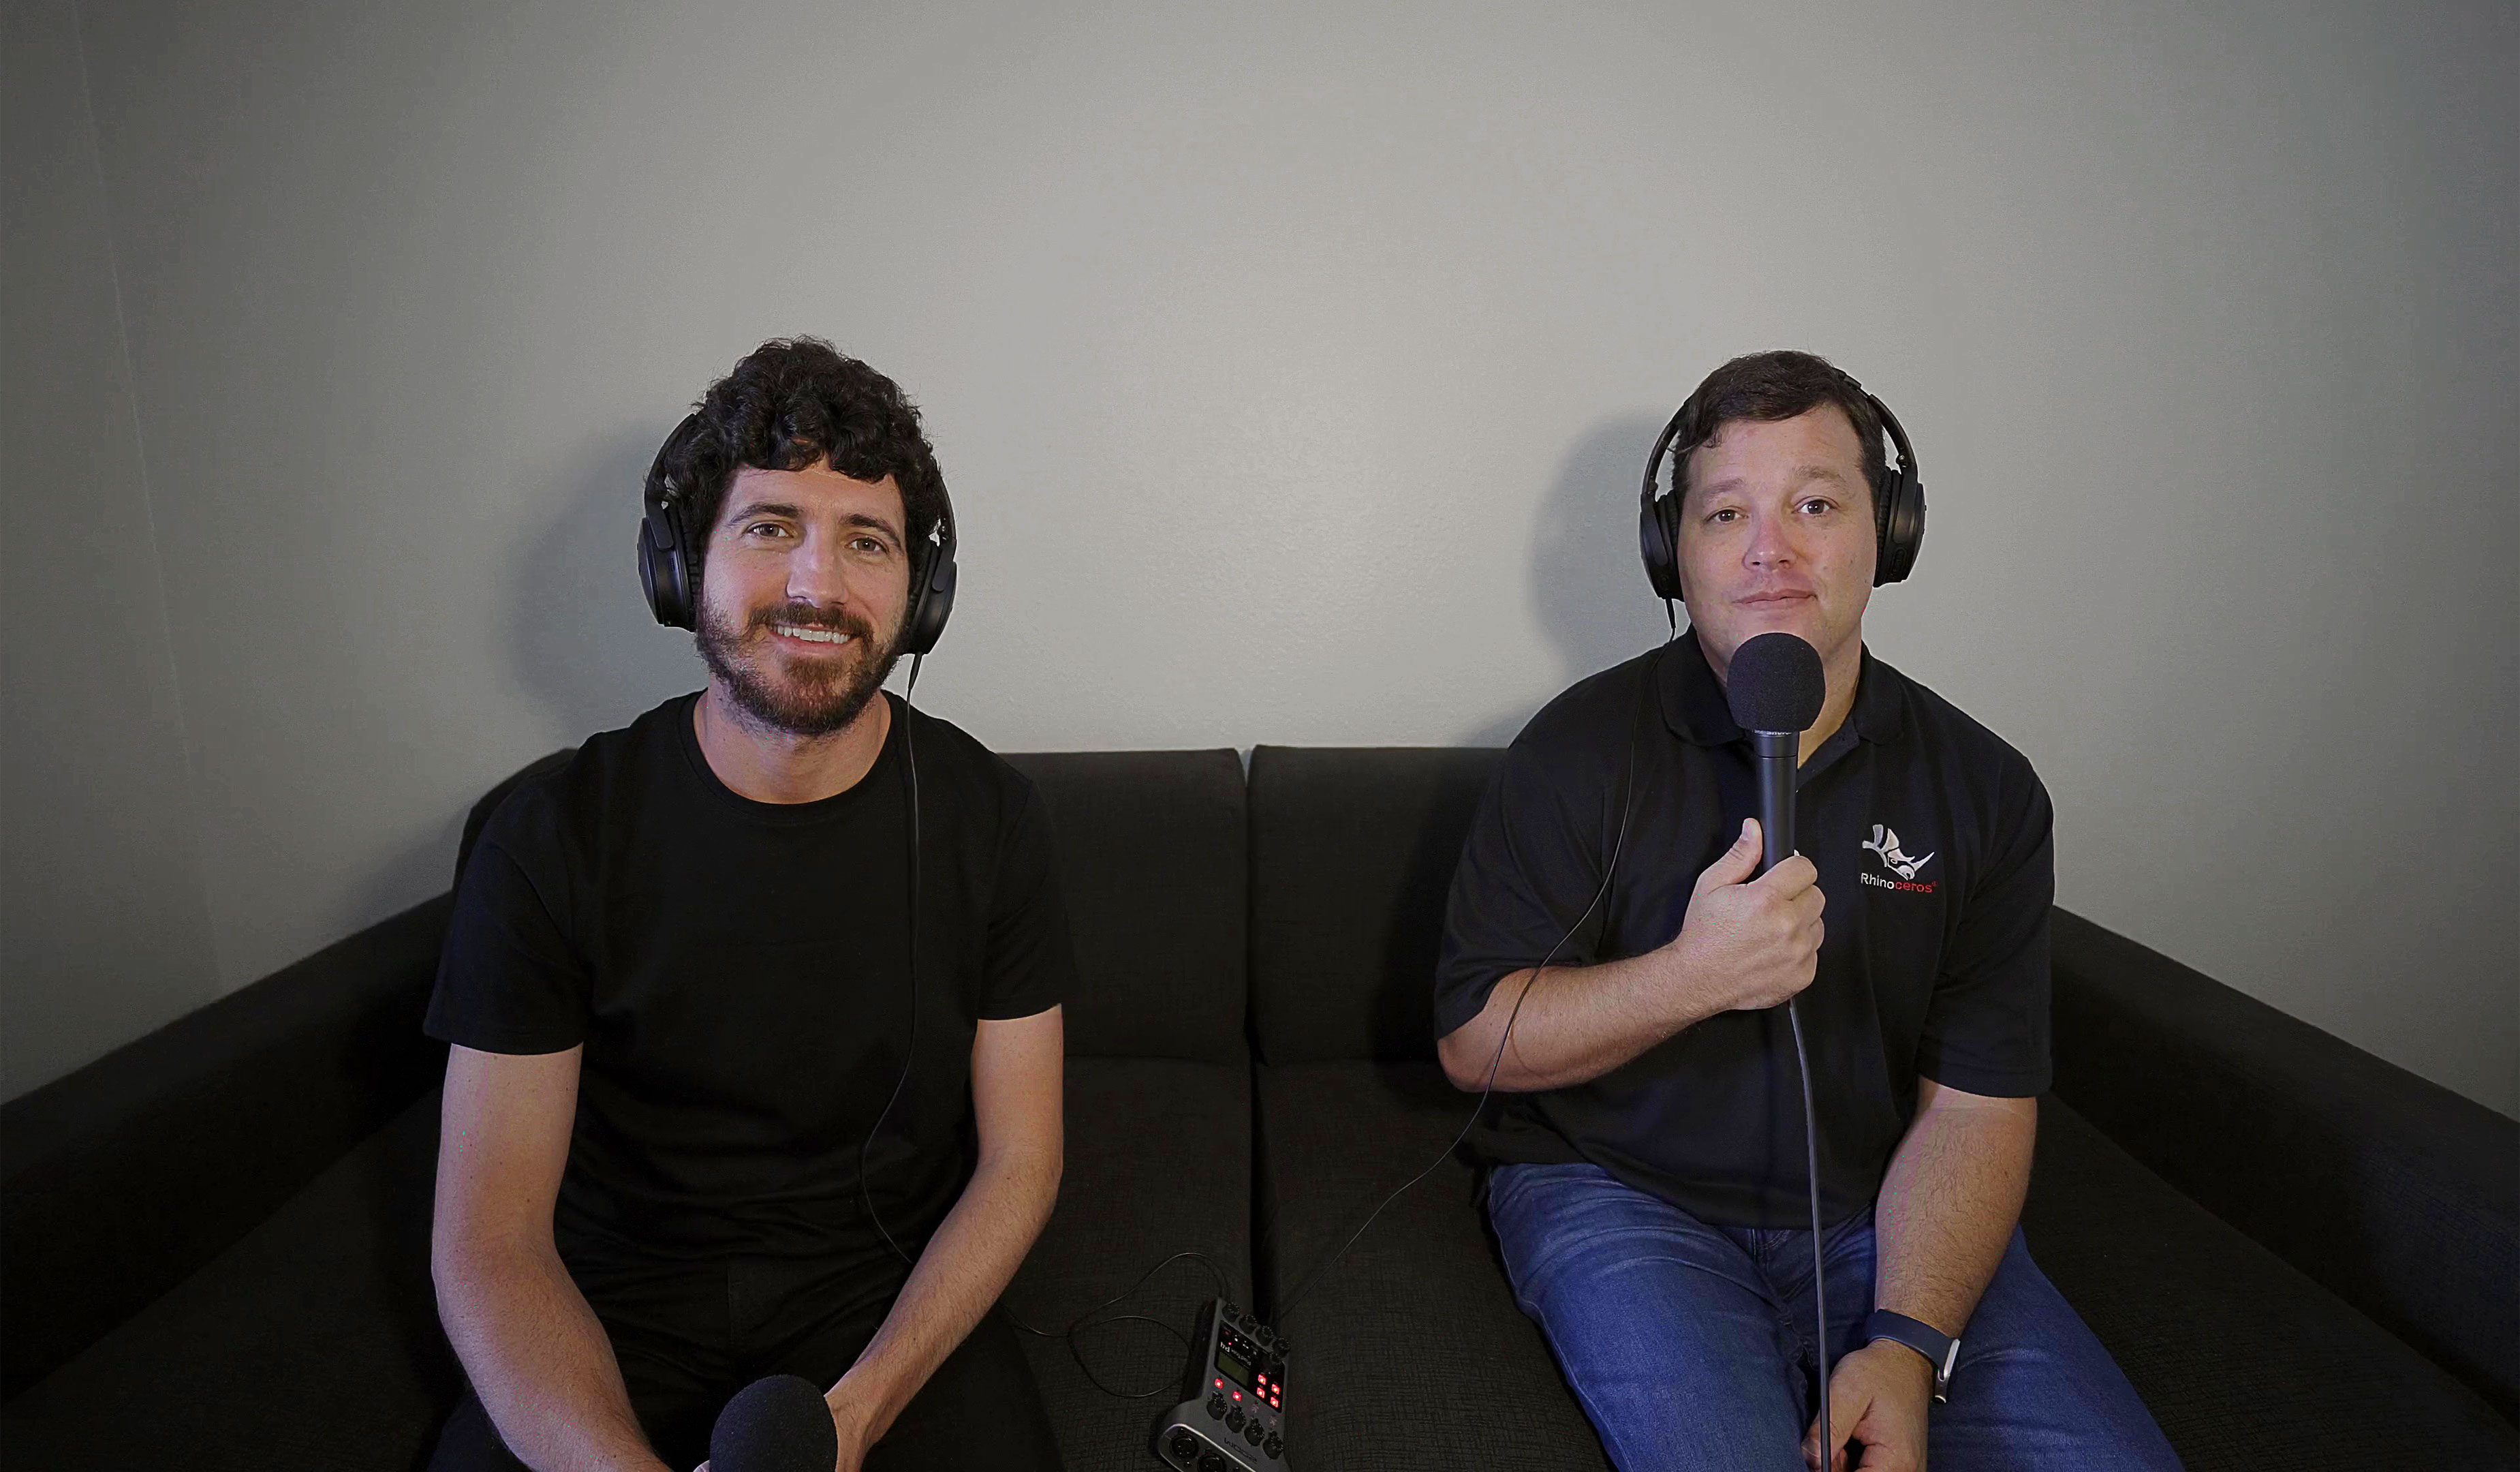
Today's episode is a follow-up with Andy Payne on Grasshopper 2's new features, recorded live after Andy's episode was released.
Thanks to everyone who chatted with us during the YouTube premiere.
Let us know your thoughts on the video comments.
Submit your questions at gettingsimple.com/ask.
Warmly,
Nono
00:00 · Introduction
00:50 · Grasshopper 2
03:03 · Data types
04:44 · Content Cache component
06:35 · Rhino Compute
07:37 · Object attributes
08:36 · New features
08:51 · Shouts
09:50 · Visual diffing and graphics
10:24 · Figurines
11:33 · Installing Grasshopper 2
12:32 · Andy's day-to-day
13:39 · 3D tools
Hey, you don’t get to decide what spreads—the public does.
—Seth Godin, All Marketers Are Liars
Hi Friends—
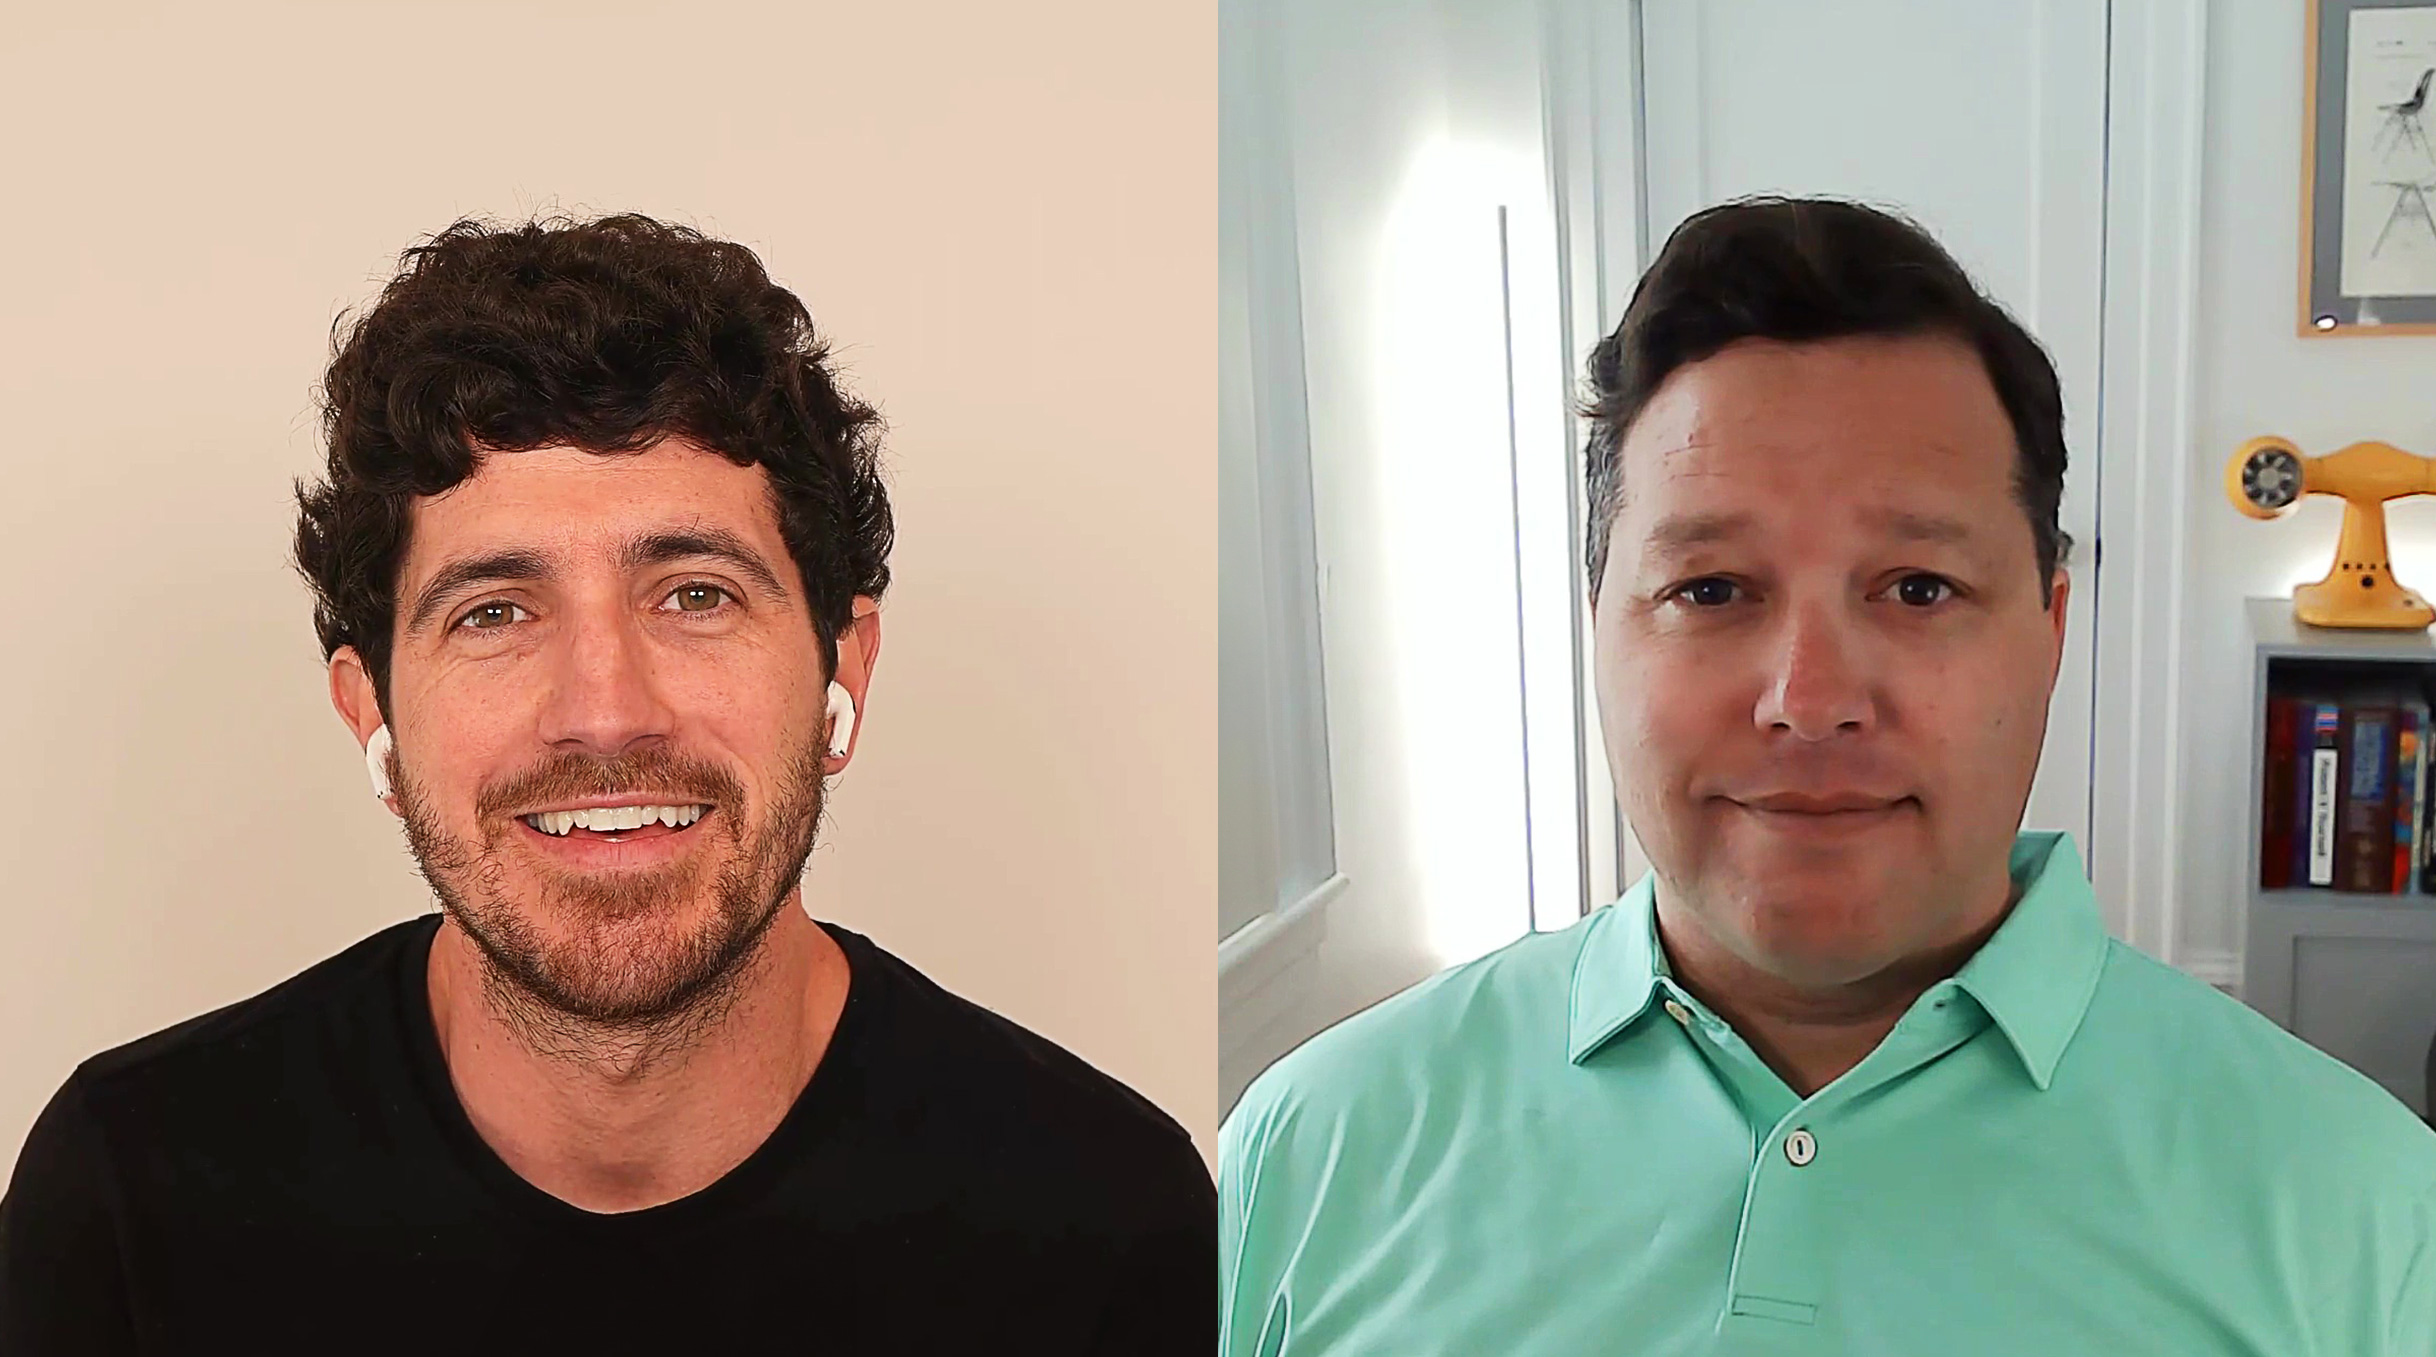
Andy Payne is an architect and software developer at McNeel, the company behind Rhino and Grasshopper 3D.
I met Andy in the summer of 2016. Autodesk had acquired Monolith (a voxel-based editor) from Andy and Pan earlier that year. I joined them as an intern to build a generator of 3D-printed material gradients and play with a Zmorph 3D printer.
We recorded a podcast conversation in New Orleans in September 2022, where I learned about Andy's latest adventure.
Enjoy this episode on the origins of Grasshopper, Grasshopper 2, Rhino.Compute, teaching, learning to code, generative AI, open-source code and monetization, and Andy's journey.
Thanks to everyone who chatted with us during the YouTube premiere.
Let us know your thoughts on the video comments.
Submit your questions at gettingsimple.com/ask.
Warmly,
Nono
00:00 · Introduction
00:35 · Andy Payne
04:11 · Grasshopper origins
07:23 · Andy meets Grasshopper
09:19 · Grasshopper Primer
10:26 · Grasshopper 1.0
13:22 · Grasshopper 2
15:11 · Developing Grasshopper
16:59 · New data types
18:57 · Rhino Compute & Hops
22:32 · Cloud billing
27:05 · Teaching
30:07 · Visual programming
36:23 · Open source & monetization
42:03 · McNeel Forum
50:07 · Connect with Andy
51:57 · Learning to code
58:00 · Generative AI
01:02:09 · The IKEA effect
01:05:38 · Authorship
01:08:56 · AI trade-offs
01:12:58 · Panagiotis Michalatos
01:16:02 · Advice for young people
01:17:08 · Success
01:18:35 · $100 or less
01:20:12 · Outro
I have an Apple M3 Max 14-inch MacBook Pro with 64 GB of Unified Memory (RAM) and 16 cores (12 performance and 4 efficiency).
It's awesome that PyTorch now supports Apple Silicon's Metal Performance Shaders (MPS) backend for GPU acceleration, which makes local inference and training much, much faster. For instance, each denoising step of Stable Diffusion XL takes ~2s with the MPS backend and ~20s on the CPU.
In July 2013, Alex Webb asked whether Grasshopper was initially developed as a teaching tool to show how information flowed through commands.
David Rutten denied this.
[Grasshopper] was developed for Rhino customers as a way to automate tasks without the need to write textual code. We expected that some of our users who were interested in RhinoScript or C# or VB.NET would be interested, but we certainly didn't think that it would be taught (at gunpoint apparently in some universities) to the masses.
Originally, the product was called Explicit History1, because it was a different approach to Rhino's native (implicit) history feature. Rhino history is recorded while you model and can then be played back, Grasshopper history is defined from scratch while the model is created as an afterthought.
I found this while putting together the episode notes for a conversation with Andy Payne on the Getting Simple podcast, where he shares curiosities of Grasshopper's origins and its transition from Explicit History to the initial Grasshopper release, Grasshopper 1, and Grasshopper 2.
In the publication, David Rutten adds that Explicit History was initially called Semantic Modeling, "but that never even made it out of the building." ↩
Pulling a mini-essay and sketch weekly is not an easy feat.
I've been doing it consistently for years, only delaying on a few special occasions for reasons like not having an internet connection, being in a different timezone, traveling, and some other situations that make a good enough to myself.
I'll keep pushing, and as my initial intention with this project was, I'll try to schedule more than one post per week to give myself a bit of slack to develop ideas more deeply and put more thoughts before I hit send.
Still, this project is for me to explore, and I'll continue to publish even if ideas aren't complete. There's always the following week to correct or expand on it.
See you soon!
You can join the newsletter here.
I export videos from Descript, which has embedded subtitles, and Descript doesn't have a way to export subtitles by chapter markers; it only exports them for an entire composition.
Here's a command that extracts the embedded subtitles from a given video—and supports any format supported by FFmpeg, such as MP4, MOV, or MKV.
ffmpeg -i video.mp4 -map 0:s:0 subtitles.srt
Here's what each part of the command does.
-i video.mp4 - the input file.map 0:s:0: - maps the first subtitle track found in the video. (You can change the last digit to extract a different track, e.g., 0:s:1 for the second subtitle track.)subtitles.srt - the output file name and format, e.g, SRT or VTT.If you found this useful, let me know!