macOS Sequoia introduces new features to help you be more productive and creative on Mac. With the latest Continuity feature, iPhone Mirroring, you can access your entire iPhone on Mac. It’s easy to tile windows to quickly create your ideal workspace, and you can even see what you’re about to share while presenting with Presenter Overlay. A big update to Safari features Distraction Control, Highlights, and a redesigned Reader, making it easy to get things done while you browse the web. macOS Sequoia also brings text effects and emoji Tapbacks to Messages, Math Notes to Calculator, the ability to plan a hike in Maps, and so much more.
iPhone Mirroring sounds extremely useful.
Hits the Upgrade Now button.
After I put my M1 MacBook Pro to sleep for a couple of weeks, it woke up with the wrong date and time, set to around two years before the current date.
Here's what fixed it for me.
Open a Terminal window and run the following command.
sudo sntp -sS time.apple.com
This will trigger a time sync with the actual date and time from Apple's clock. But it won't completely fix the issue. If you close the lid and reopen your laptop, the time will return to the wrong time.
After you run the command above, you have to do the following.
That's it. This permanently fixed the issue for me.
If you found this useful, let me know!
I received the following email from Dropbox notifying me that Dropbox for macOS on File Provider was ready.
We’re writing to let you know that Dropbox for macOS on File Provider is ready. This updated version of the Dropbox app has a deep integration with macOS to ensure you have the best Dropbox experience.
To get started, ensure your computer is on the latest version of macOS and click the Dropbox icon in your menu bar. On the notification that appears, click Get started.
File Provider is a macOS API in the form of "an extension other apps use to access files and folders managed by your app and synced with a remote storage."
I'm in macOS Sonoma, and so far, the transition has been smooth. It seems like macOS indexed my entire Dropbox library, which is north of 500,000 files.
Offline file loading on double-click has improved, and it seems third-party apps that read configuration files from Dropbox aren't having any issues doing so.
Other than that, the overall experience feels the same.
This move was forced by Apple and is meant to improve how Dropbox and other cloud file providers work.
Let's see how it goes.
I was running cron jobs that worked with macOS Mojave, Catalina, Big Sur, Monterey, and Ventura but stopped working after I updated to macOS Sonoma.
Here are two sample errors.
ls: .: Operation not permitted
zip error: Nothing to do! (try: zip -qr9 ~/folder/file.zip . -i *)
An "Operation not permitted" error message when running a cron job on macOS typically signals a permission issue.
croncron requires the proper permissions to access other commands.
You'll need to grant "Full Disk Access" to cron or to the Terminal app to ensure it can execute jobs properly in macOS Sonoma.
Here's how.
System Settings > Privacy & Security > Privacy section.Full Disk Access from the sidebar./usr/sbin folder with Finder. (You can do that with CMD + SHIFT + G and entering the path.)cron app binary.ChatGPT helped me get to a solution faster.
This guide is for macOS Ventura. Check this page for macOS Monterey1.
As is port 3000, port 5000 is commonly used to serve local development servers. When updating to the latest macOS operating system, I noticed my React development server, which I'm serving with React create-serve was using a port other than 5000, because it was already in use. (You may find a message along the lines of Port 5000 already in use.)
By running lsof -i :5000, I found out the process using the port was named ControlCenter, which is a native macOS application. If this happens to you, even if you use brute force (and kill) the application, it will restart itself. In my laptop, lsof -i :5000 returns that Control Center is being used by process id 433. I could do killall -p 433, but macOS keeps restarting the process.
The process running on this port turns out to be an AirPlay server. You can deactivate it in System Settings › General › AirDrop & Handoff and uncheck AirPlay Receiver to release port 5000.
As an aside, I just ran into this same issue when trying to run a Node.js server application as of September 13, 2022.
uncaught exception: listen EADDRINUSE: address already in use :::5000
Error: listen EADDRINUSE: address already in use :::5000
If you found this useful, let me know!
I run the following command to clean up unneeded old Homebrew kegs on macOS.
brew cleanup --prune=all
But often get this error.
Error: Could not cleanup old kegs! Fix your permissions on:
Here's the tail of what the command returns when there are permissions issues.
==> This operation has freed approximately 395MB of disk space.
Error: Could not cleanup old kegs! Fix your permissions on:
  /opt/homebrew/Cellar/dnsmasq/2.85
  /opt/homebrew/Cellar/php/8.1.1
  /opt/homebrew/Cellar/php/8.1.1.reinstall
  /opt/homebrew/Cellar/php/8.1.3_1
  /opt/homebrew/Cellar/php/8.1.4.reinstall
  /opt/homebrew/Cellar/php@7.4/7.4.21_1
  /opt/homebrew/Cellar/php@7.4/7.4.27.reinstall
  /opt/homebrew/Cellar/php@7.4/7.4.28_1.reinstall
  /opt/homebrew/Cellar/php@8.0/8.0.14
brew won't use root permissions for any operations.
This is what you'll see if you try to cleanup with root.
sudo brew cleanup --prune=all
# Error: Running Homebrew as root is extremely dangerous and no longer supported.
# As Homebrew does not drop privileges on installation you would be giving all
# build scripts full access to your system.
What you have to do is to change the ownership of the problematic directories to your username instead of root.
You can do that with sudo chown -R "$USER":admin /conflicting/dir.
To solve the issues shown in my error above, I ran the following commands.
sudo chown -R "$USER":admin /opt/homebrew/Cellar/dnsmasq/2.85
sudo chown -R "$USER":admin /opt/homebrew/Cellar/php/8.1.1
sudo chown -R "$USER":admin /opt/homebrew/Cellar/php/8.1.1.reinstall
sudo chown -R "$USER":admin /opt/homebrew/Cellar/php/8.1.3_1
sudo chown -R "$USER":admin /opt/homebrew/Cellar/php/8.1.4.reinstall
sudo chown -R "$USER":admin /opt/homebrew/Cellar/php@7.4/7.4.21_1
sudo chown -R "$USER":admin /opt/homebrew/Cellar/php@7.4/7.4.27.reinstall
sudo chown -R "$USER":admin /opt/homebrew/Cellar/php@7.4/7.4.28_1.reinstall
sudo chown -R "$USER":admin /opt/homebrew/Cellar/php@8.0/8.0.14
Then run brew cleanup --prune=all again and everything should work.
Here's how to obtain the numerical value of the chmod permissions of a directory on macOS. (Note that this method also works for files.)
stat -f %A directory/
# 755
Let's give it a try.
First, create a new directory and set its permissions.
mkdir directory/
chmod 777 directory/
Then we can retrieve its chmod number.
stat -f %A directory/
# 777
And here's how to retrieve it's chmod string value.
ls -n
# drwxr-xr-x 2 501 20 64 Jun 21 13:57 directory/
This method also works for files.
Here's how to obtain the numerical value of the chmod permissions of a file on macOS. (Note that this method also works for directories.)
stat -f %A file.md
# 755
Let's give it a try.
First, create a new file and set its permissions.
touch text.md
chmod 777 text.md
Then we can retrieve its chmod number.
stat -f %A text.md
# 777
And here's how to retrieve it's chmod string value.
ls -n text.md
# -rwxrwxrwx 1 501 20 0 Jun 21 13:53 text.md*
This method also works for directories.
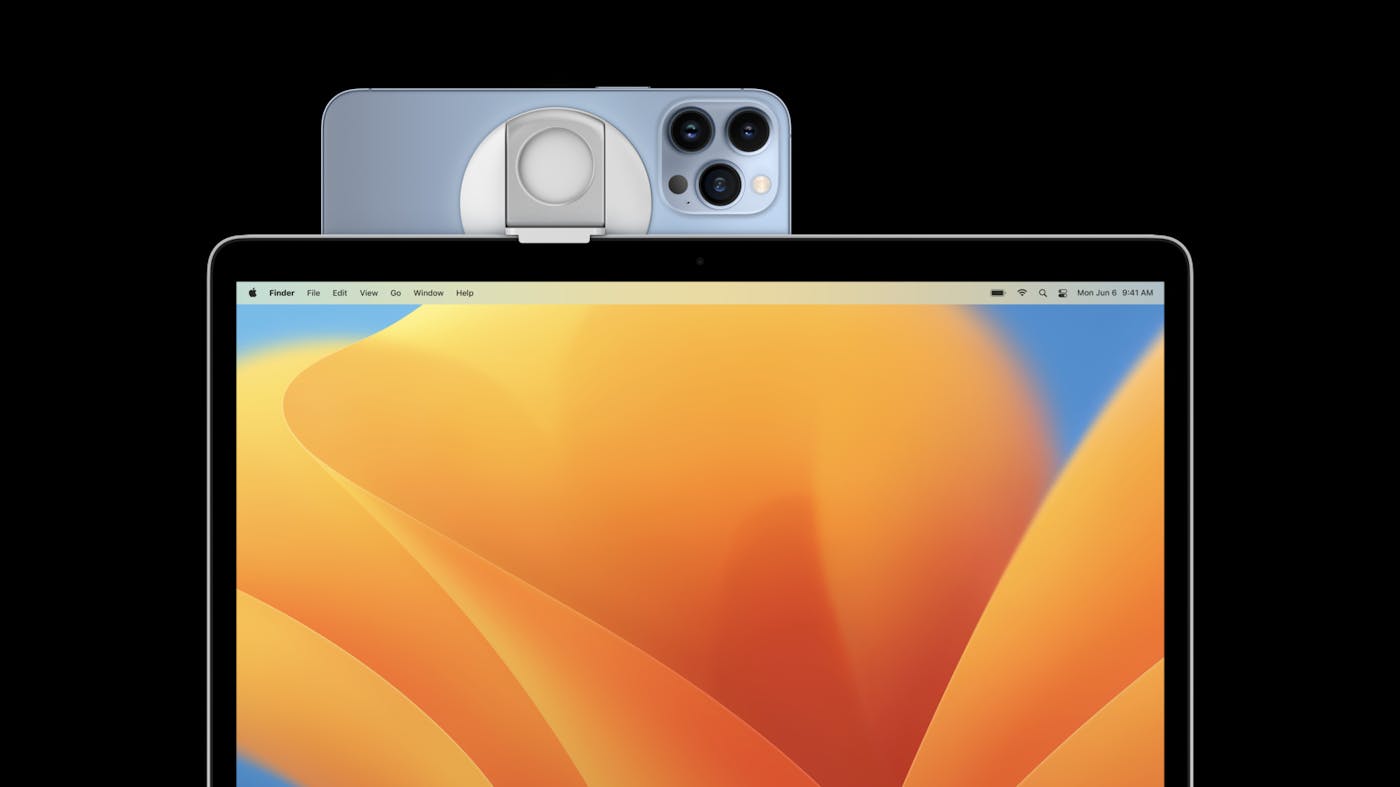
Discover how you can use iPhone as an external camera in any Mac app with Continuity Camera. Whether you're building video conferencing software or an experience that makes creative use of cameras, we'll show you how you can enhance your app with automatic camera switching. We'll also explore how to recognize user-preferred and system-preferred cameras, take you through APIs for high-resolution and high-quality photo capture from iPhone's video stream, and more. For more on Continuity Camera, watch "Discover advancements in iOS camera capture" from WWDC22.
If you are wondering where the image files of your Apple Desktop backgrounds are, you can simply navigate to the following folder.
/System/Library/Desktop Pictures
To get to this folder, in case you don't want to remember the path, you can also do this.
Change Desktop Background
To navigate to the folder with Terminal.
open "/System/Library/Desktop Pictures"
To navigate to the folder with Finder.
Go › Go to Folder..
/System/Library/Desktop Pictures
Go
Hold the icon in the macOS menu bar for two seconds.
This guide is for macOS Monterey. Check this page for macOS Ventura.
2025.09.22 Update: In macOS Tahoe, you can find AirPlay Receiver toggle in System Settings › AirDrop & Handoff.
As is port 3000, port 5000 is commonly used to serve local development servers. When updating to the latest macOS operating system, I noticed my React development server, which I'm serving with React create-serve was using a port other than 5000, because it was already in use. (You may find a message along the lines of Port 5000 already in use.)
By running lsof -i :5000, I found out the process using the port was named ControlCenter, which is a native macOS application. If this happens to you, even if you use brute force (and kill) the application, it will restart itself. In my laptop, lsof -i :5000 returns that Control Center is being used by process id 433. I could do killall -p 433, but macOS keeps restarting the process.
The process running on this port turns out to be an AirPlay server. You can deactivate it in System Preferences › Sharing and uncheck AirPlay Receiver to release port 5000.
As an aside, I just ran into this same issue when trying to run a Node.js server application as of September 13, 2022.
uncaught exception: listen EADDRINUSE: address already in use :::5000
Error: listen EADDRINUSE: address already in use :::5000
If you found this useful, let me know!
If you are wondering where the image files of your Apple Desktop backgrounds are, you can simply navigate to the following folder.
/System/Library/Desktop Pictures
To get to this folder, in case you don't want to remember the path, you can also do this.
Change Desktop Background
To navigate to the folder with Terminal.
open "/System/Library/Desktop Pictures"
To navigate to the folder with Finder.
Go › Go to Folder..
/System/Library/Desktop Pictures
Go
The folder containing Apple's wallpapers is named Desktop Pictures.
I got a sudden fan shut down every time I would switch on my MacBook Pro (16-inch, 2019) after I upgraded macOS from Catalina to Big Sur. Here's how I fixed it.
CMD + R - Press on reboot to enter Rescue ModeUtilities › Terminal
kmutil trigger-panic-medic --volume-root /Volumes/Macintosh\ HD
This is the Kext extension that, apparently, was causing the issue.
cd /System/Library/Extensions/AppleThunderboltNHI.kext
Here's how I installed pandoc on my MacBook Pro (13–inch, M1, 2020) to run with Rosetta 2 — not natively, but on the x86_64 architecture — until a universal binary for macOS is built that supports the arm64 architecture in new Appple Silicon Macs.
This guide may be used to install other non-universal brew packages.
# Install Homebrew for x86_64 architecture
# https://soffes.blog/homebrew-on-apple-silicon
arch -x86_64 /bin/bash -c "$(curl -fsSL https://raw.githubusercontent.com/Homebrew/install/master/install.sh)"
# Install pandoc using that version of Homebrew
arch -x86_64 /usr/local/bin/brew install pandoc
Outputs
==> Downloading https://homebrew.bintray.com/bottles/pandoc-2.11.4.big_sur.bottle.tar.gz
Already downloaded: /Users/nono/Library/Caches/Homebrew/downloads/34e1528919e624583d70b1ef24381db17f730fc69e59144bf48abedc63656678--pandoc-2.11.4.big_sur.bottle.tar.gz
==> Pouring pandoc-2.11.4.big_sur.bottle.tar.gz
🍺  /usr/local/Cellar/pandoc/2.11.4: 10 files, 146.0MB
# Check pandoc's version
arch -x86_64 pandoc --version
Outputs
pandoc 2.11.4
Compiled with pandoc-types 1.22, texmath 0.12.1, skylighting 0.10.2,
citeproc 0.3.0.5, ipynb 0.1.0.1
User data directory: /Users/nono/.local/share/pandoc or /Users/nono/.pandoc
Copyright (C) 2006-2021 John MacFarlane. Web:  https://pandoc.org
This is free software; see the source for copying conditions. There is no
warranty, not even for merchantability or fitness for a particular purpose.
arch -x86_64 pandoc sample.md -o sample.html
Contents of sample.md:
# Hello, Apple Silicon!

- Pandoc
- seems
- to
- work.
Contents of sample.html:
<h1 id="hello-apple-silicon">Hello, Apple Silicon!</h1>
<ul>
<li>Pandoc</li>
<li>seems</li>
<li>to</li>
<li>work.</li>
</ul>
While macOS ships with Python 2 by default, you can install set Python 3 as the default Python version on your Mac.
First, you install Python 3 with Homebrew.
brew update && brew install python
To make this new version your default, you can add the following line to your ~/.zshrc file (or ~/.bashrc if you want to expose it in bash instead of zsh).
alias python=/usr/local/bin/python3
Then open a new Terminal and Python 3 should be running.
Let's verify this is true.
python --version # e.g. Python 3.8.5
python3 path?Homebrew provides info about any installed "bottle" via the info command.
brew info python
# python@3.8: stable 3.8.5 (bottled)
# Interpreted, interactive, object-oriented programming language
# https://www.python.org/
# /usr/local/Cellar/python@3.8/3.8.5 (4,372 files, 67.7MB) *
# ...
And you can find the path we're looking for grep.
brew info python | grep bin
# /usr/local/bin/python3
# /usr/local/opt/python@3.8/libexec/bin
You can also symlink python3 to python.
ln -sf /usr/local/bin/python3 /usr/local/bin/python
In case your /usr/local/bin/python3 is also symlinked, you can check where it's symlinked to with:
readlink /usr/local/bin/python3
In my case, it returns ../Cellar/python@3.9/3.9.1_6/bin/python3.
Your system's Python 2.7 is still there.
/usr/bin/python --version # e.g Python 2.7.16
You can also use Homebrew's Python 2.
brew install python@2


Apple changed the location of Voice Memos audio files in macOS Sonoma.
They are located in the Recordings folder inside of ~/Library/Group Containers/group.com.apple.VoiceMemos.shared/.
/Users/john/Library/Group Containers/group.com.apple.VoiceMemos.shared/Recordings
If you are wondering where the audio files of your Apple Voice Memos are, in case you want to browse through them, see their file sizes, or copy or remove them, they are located in the com.apple.voicememos folder inside of ~/Library/Application Support.
That's the Library folder inside of your macOS username. For instance, if your username were john, the following would be your full path.
/Users/john/Library/Application Support/com.apple.voicememos
These audio recordings might have been recorded on your Mac or iOS devices (such as iPad or iPhone) and synchronized via iCloud. And even when your voice recordings appear on all your devices, Apple doesn't make it easy to find the audio files of your voice memos.
You can also drag and drop the recordings in the macOS interface to a Finder folder or the Desktop or send them over AirDrop to your laptop from iOS. I usually name the files on iOS, so they are properly named when sent over AirDrop.
Hope that helps!
You can immediately open the Voice Memos directory by running the following command on Terminal. The file location containing your recordings will open on Finder.
open ~/Library/Application\ Support/com.apple.voicememos
Josh shared with me on Instagram that, on iOS 7, 13, 14, and probably 15 as well, you can find the voice memos at /private/var/mobile/Media/Recordings/ and that there's also an SQLite database at that location with the expected filenames. However, the structure of that database does change over time.
Note that your iCloud Voice Memos won't sync to your Mac until you've opened the Voice Memos app at least once when running macOS (say, Monterey or Ventura).
Here's how you can verify that your Voice Memos are syncing1.
On your Mac: Choose Apple menu > System Preferences, click Apple ID, click iCloud in the sidebar, select iCloud Drive, click Options, then select Voice Memos in the list of apps.
On your iOS or iPadOS device: Go to Settings > [your name] > iCloud, then turn on Voice Memos.
If you've enabled iCloud on your devices, notes recorded on any device will show on every device that has the same iCloud account enabled, including the iPhone, iPad, MacBook, iMac, and Mac Pro.
It doesn't seem like Apple is making it easier to find the voice memo mac file location.
After the response to this post, I recorded the video at the top of this post. You can see the full transcription, in which I explain how to get to the com.apple.voicememos folder step by step, explain how to get M4A with the names you assigned to them in your device, and more.
Here's a note on how to display dialogs, alerts, and notifications on macOS with AppleScript, useful to automate day-to-day tasks you do with your machine, or even create complex programs.
(To the uninitiated, you would run this code by opening the AppleScript Editor (on macOS), pasting the code there, and hitting run.)
display alert "This is an alert" buttons {"No", "Yes"}
if button returned of result = "No" then
	display alert "No was clicked"
else
	if button returned of result = "Yes" then
		display alert "Yes was clicked"
	end if
end if
display notification "Have a simple day!"
To add a shortcut to your macOS Terminal, the only thing we need to do is to EXPORT that path in your bash profile. So go ahead and open the ~/.bash_profile file with a text editor, and add the following to the bottom of this file.
export MYFOLDER="/Users/username/Dropbox/folder"
This will add an environment variable $MYFOLDER to every new bash Terminal window you create. So you can navigate (or use the variable of this path) to this folder with:
cd $MYFOLDER
You can also type $MYFOLDER/other-folder —then press the TAB key— to expand the path shortcut to:
/Users/username/Dropbox/folder/other-folder
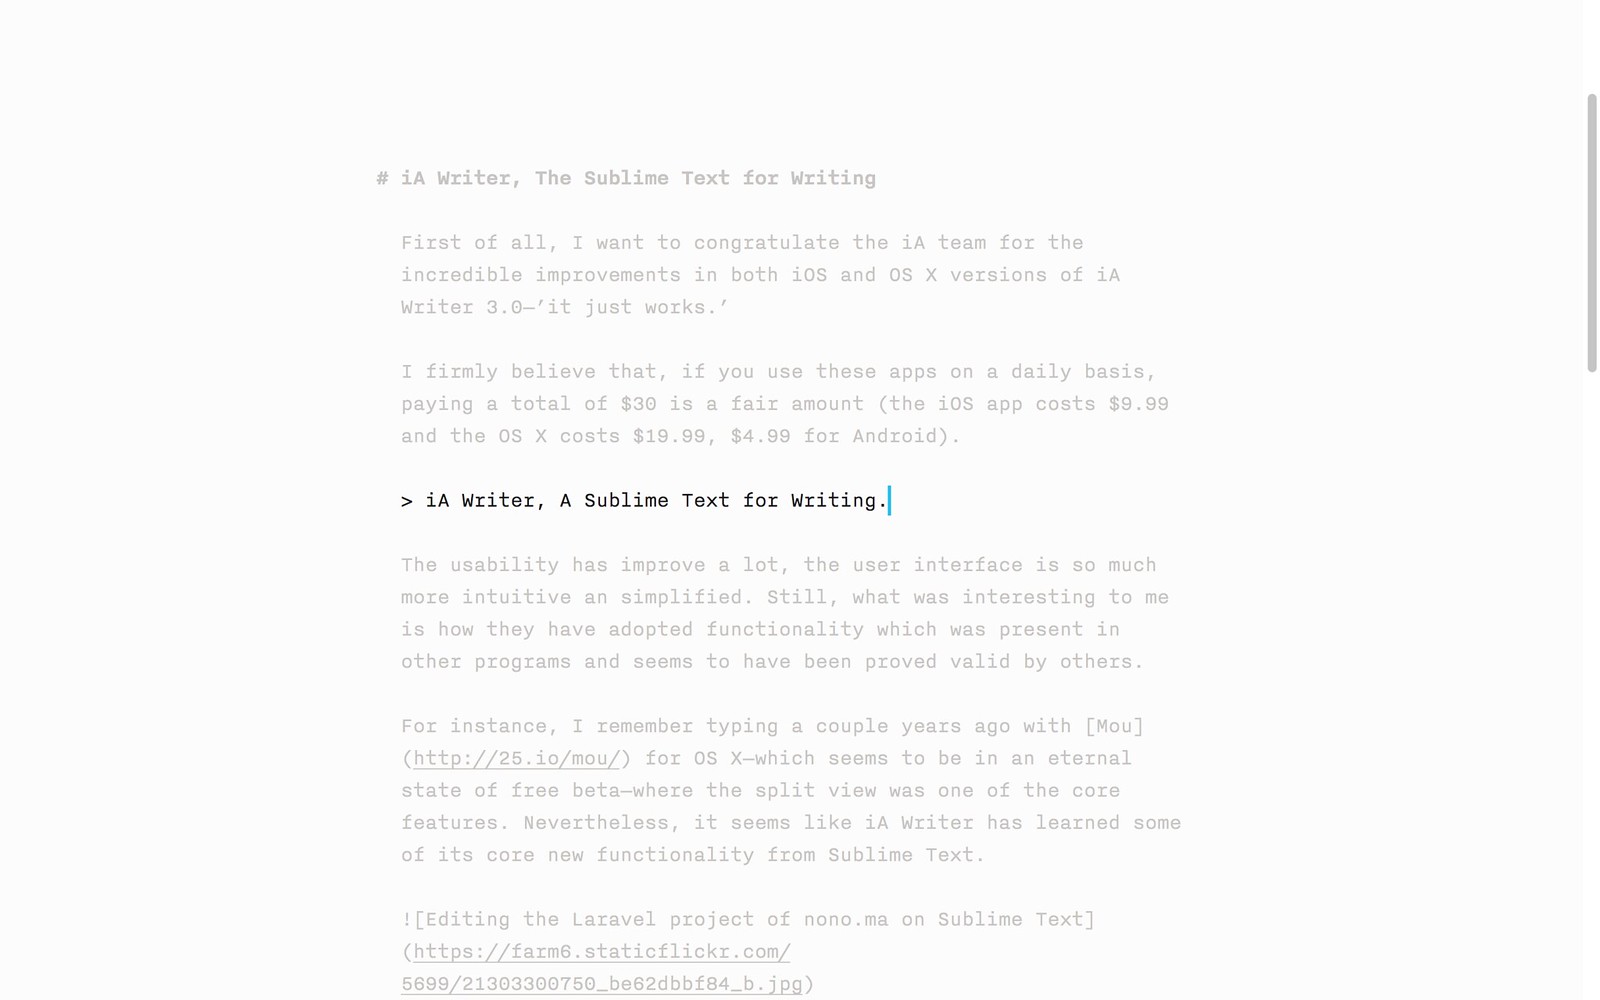
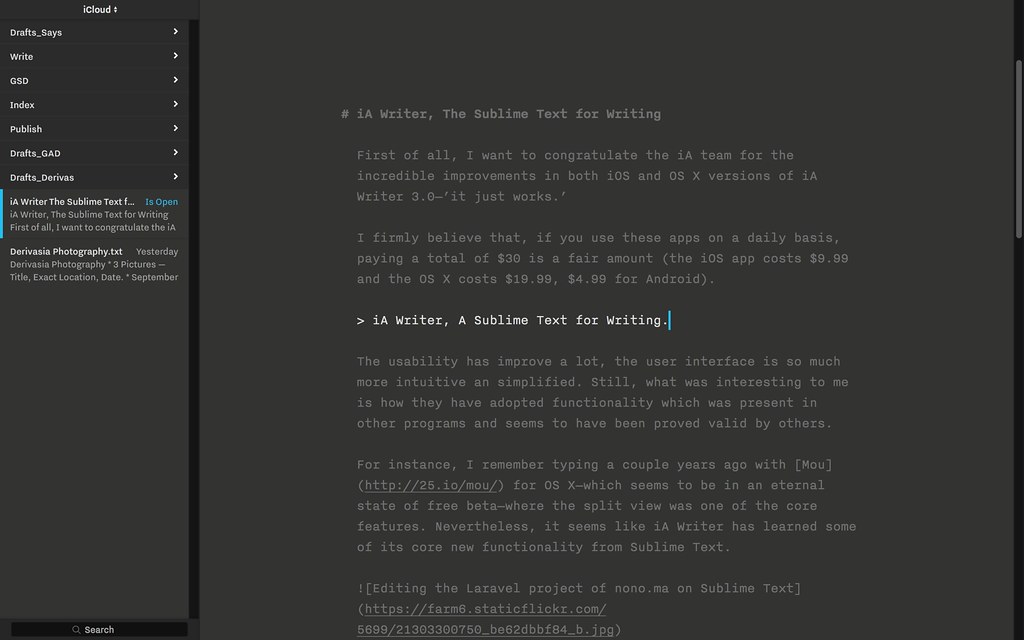
First of all, I want to congratulate the iA team for the incredible improvements in both iOS and OS X versions of iA Writer 3.0—’it just works.’
I firmly believe that, if you use these apps on a daily basis, paying a total of $30 is a fair amount. The app costs $9.99 for iOS, $19.99 for OS X, and $4.99 for Android.
iA Writer, A Sublime Text for Writing.
The usability has improve a lot. The user interface is so much more intuitive an has been simplified a lot. Still, what was interesting to me is how they have adopted functionality which was present in other programs and seems to have been proved valid after a wide use.
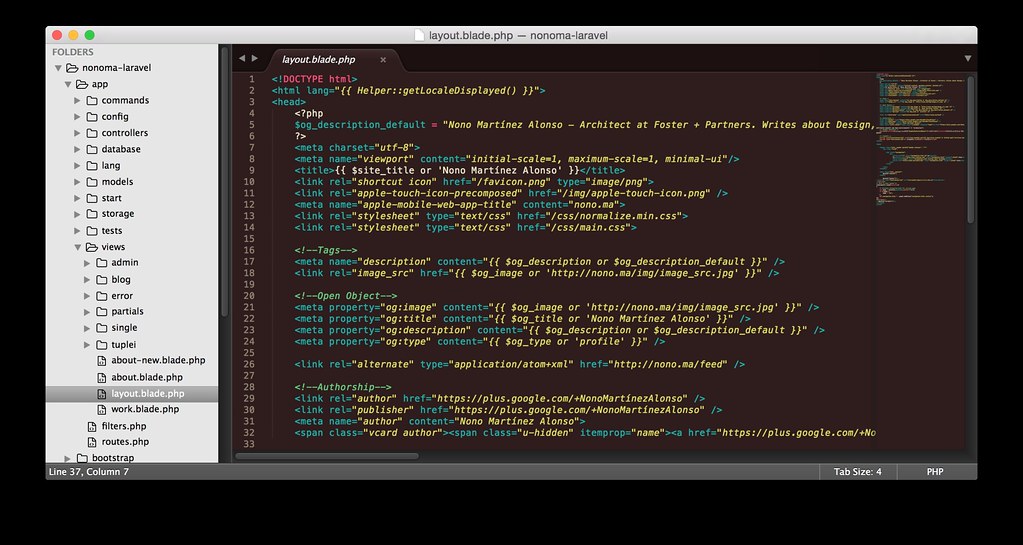
For instance, I remember typing a couple years ago with Mou for OS X—which currently seems to be in an eternal state of free beta—where the split view with a live preview was one of the core features. Nevertheless, it seems like iA Writer has learned some of its core new functionality from Sublime Text.
One of the key successes of iA Writer 3.0 is the Library and its integration with iCloud and Dropbox. It syncs really well, and it caches the path of all your Dropbox text files at once, so it is really fluid when browsing files—unlike previous versions where every touch on a folder would fetch its contents from the Dropbox API.
These feature was one the most comfortable ones inside Sublime Text, where you are allowed to open a whole project folder and navigate through it with ease.
As I said, Mou and other Markdown apps had a Preview function built in from the very beginning, but Writer always had this feature separate—its Preview would open a popup with the pre-visualization of your rendered Markdown.

From 3.0, Writer joins the split view game, starting at a really small size that—I adventure to say—mimics the way Sublime Text works. It allows you to easily navigate your writings. If the small scheme is not what you are looking for, you can always click and drag to resize the Preview window, even up to the point where the writing window disappears and the Preview covers the whole screen.
There are many other features which where already available inside iA Writer Pro, but have been polished in order to make the experience even better.
I am in no way related to iA Writer, and the only reason why I share it is because it makes my life so much easier every single day—and it may also make yours easier. It is simple, gorgeous, functional, and—most important—completely focuses on writing.
The simplest way to zip a file or folder on Mac OS X—and to password protect it—is to run the following command on the Terminal.
zip -er archive.zip /path/to/directory/
After running the command (and only if /path/to/directory is a valid file or directory) you'll be prompted for a password. If you don't want to specify a password just omit the -er part. And, also, you can compress multiple files by specifying a list of files at the end.
zip -er archive.zip file1.jpg /path/to/directory anotherFile.zip